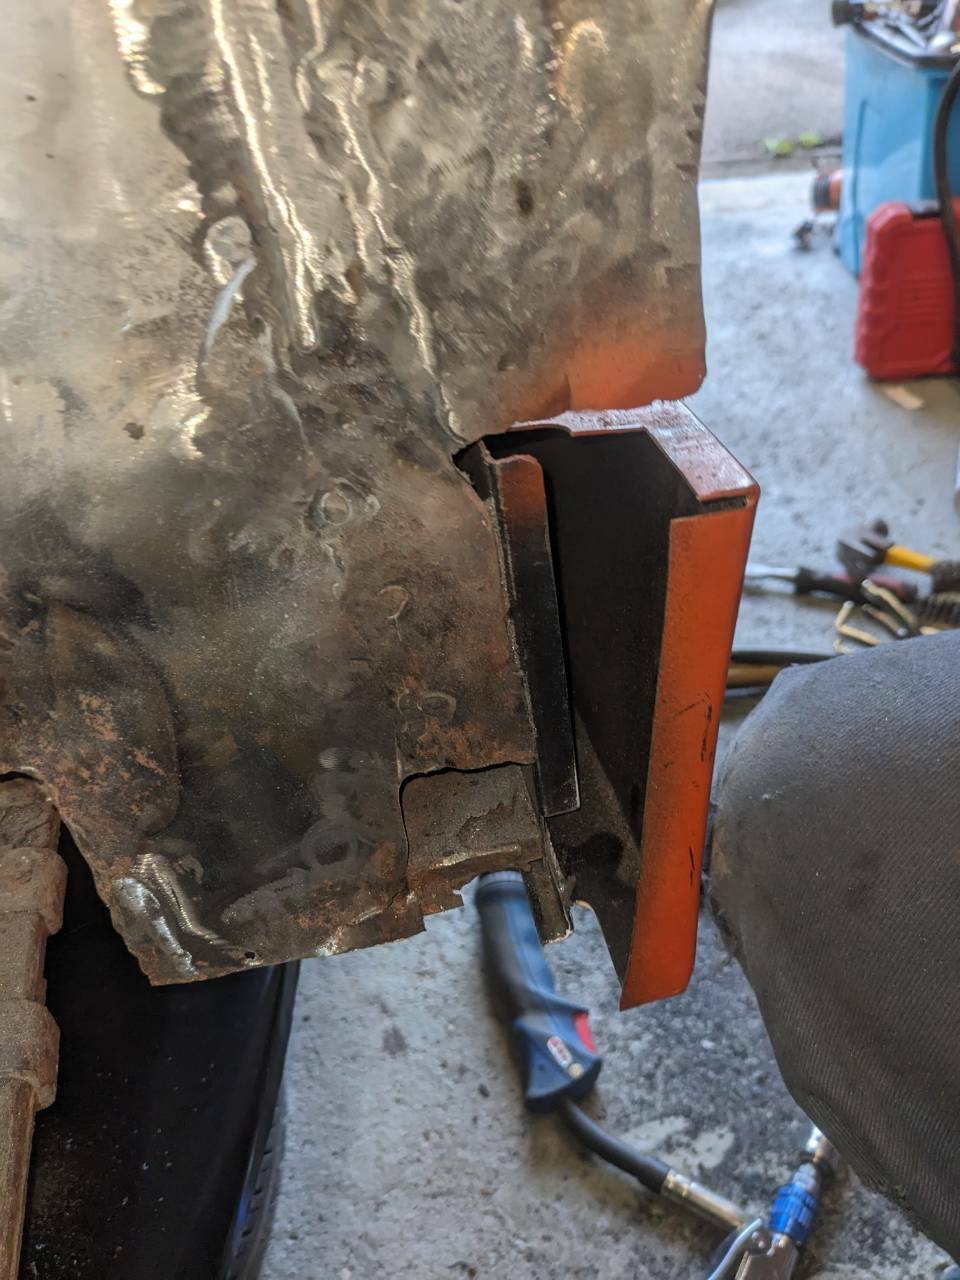
Instead I cracked on with finishing the front of this.
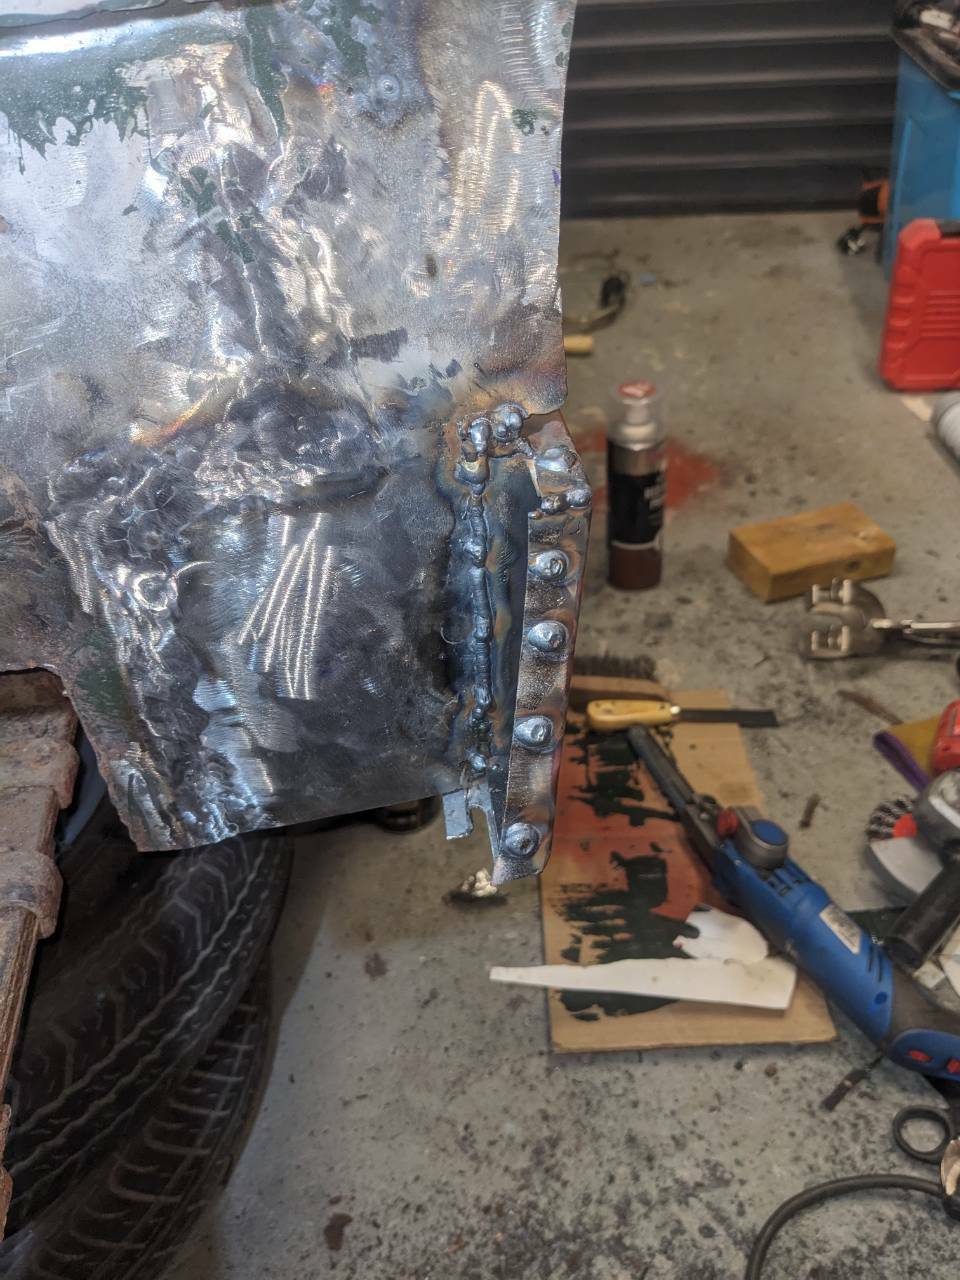
Blue lines are areas where the join is and needed a bead running over as some pin holes.

Easy enough and a fair bit of precision grinding after to clean up.

Then several rounds of filler and sand. This panel is damaged a bit from when folding the edge over. So needed a thin skim of filler to finish it. Likewise at the top to round off where I bent out the metal to enlarge the corner slightly.

Left a mess that looked like I was on the Columbian Marching Powder. Messy stuff is filler. Perhaps I should learn to lead load instead.

Then red oxide to protect.

This front corner is now pretty much done.

Except the paint will need to be rectified before the body colour goes on from the rather bad paint runs. I don't get on with the Simonz paint nozzle on these cans I get from my local car part shop. Also doesn't help that I'm crap with paint too.

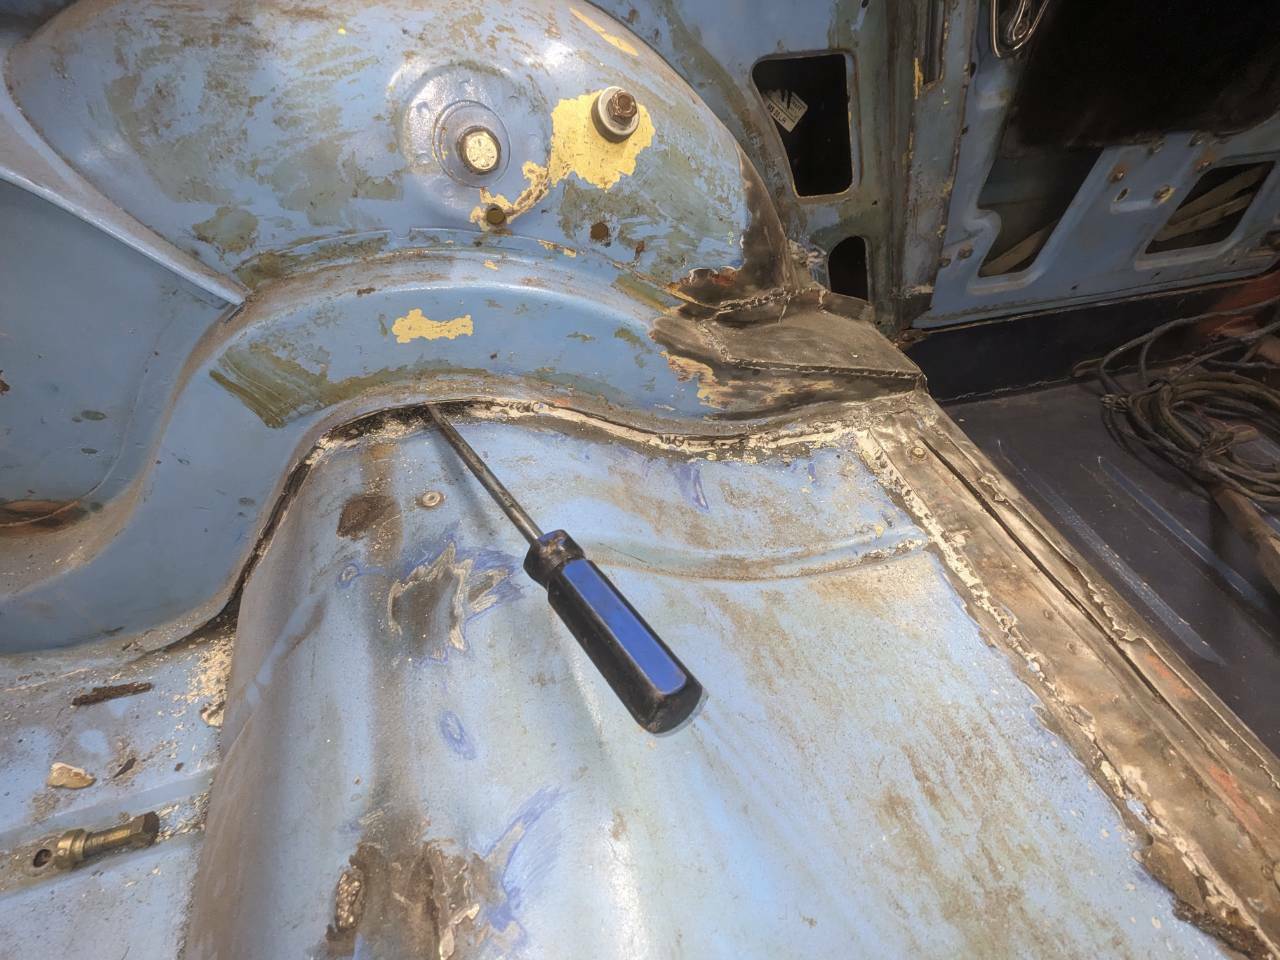
The drivers floor needs a few fresh beads putting down as the current ones are a bit suspect. Then I'll refit the door to check alignments. From there I can work backwards again to fix the rear arch and outer wing panel.
Sent from my Pixel 5 using Tapatalk