As usual, I hoped to get more done this weekend but always something that gets in the way. As the weather was absolutely fantastic, I went for a local walk with Mrs SiC.
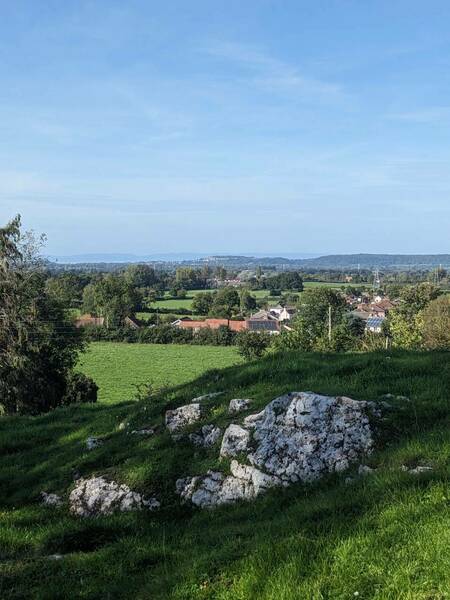
Just as I took that picture, I received a message from my neighbour if I wanted to go for a pint. While I wanted to get on with the Midget, I couldn't say no. By the time I got back an hour or so later, things were a bit blurry and I thought it was prudent to sober up before I cut my ligaments off from my clumsiness.
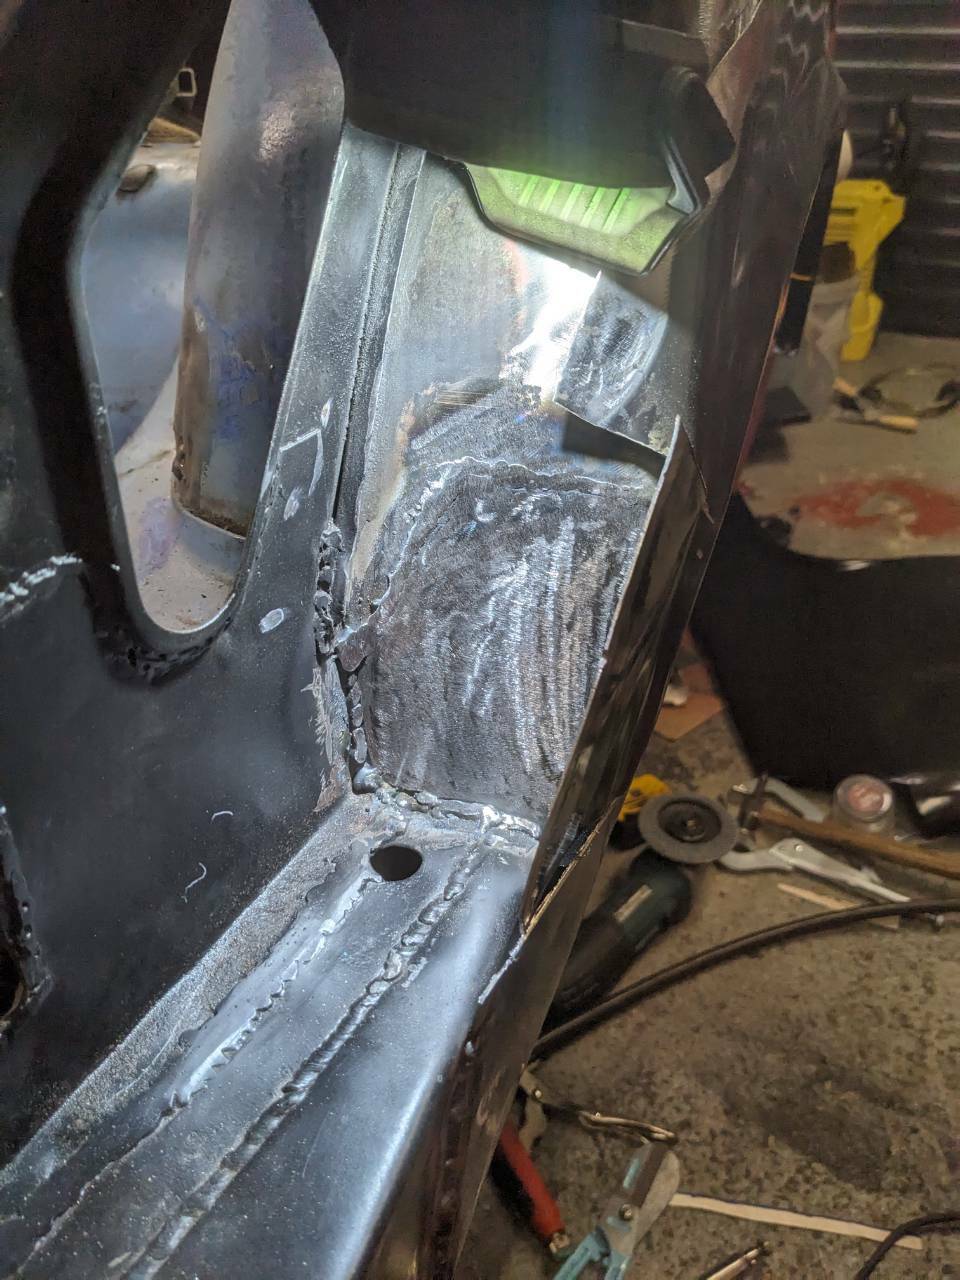
First job was lining this inner panel. I tacked in place, ground back to flat and rechecked the positioning with the outer panel.
Then a few more tacks and double checking again with the outer panel in place.
Finally a decent seam weld across.
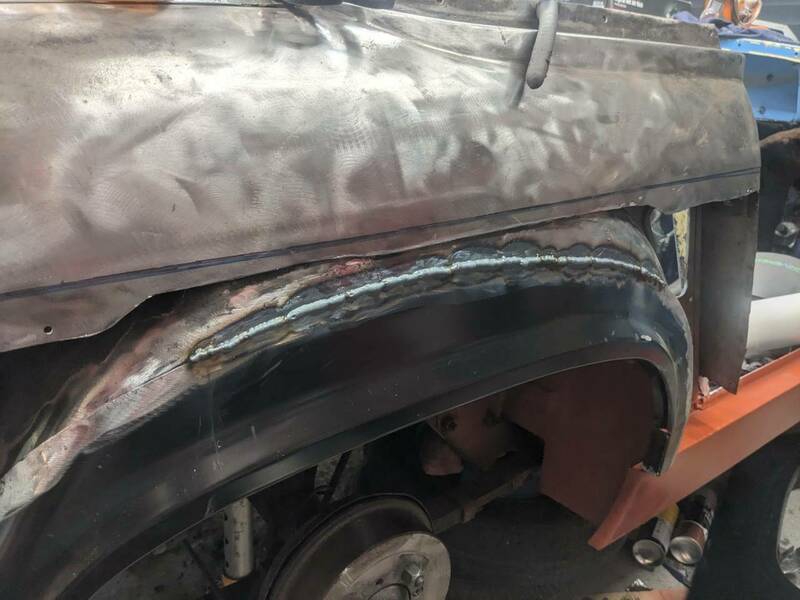
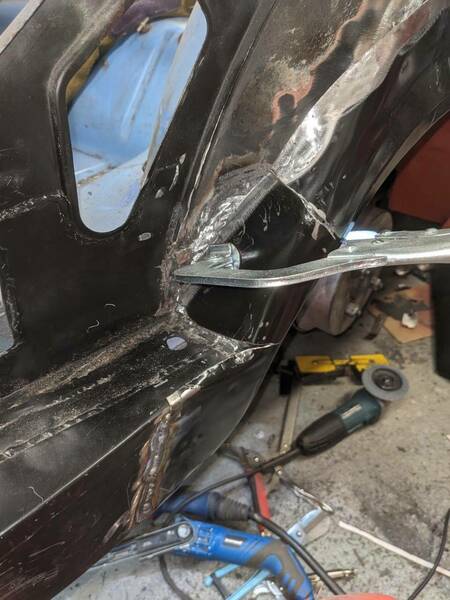
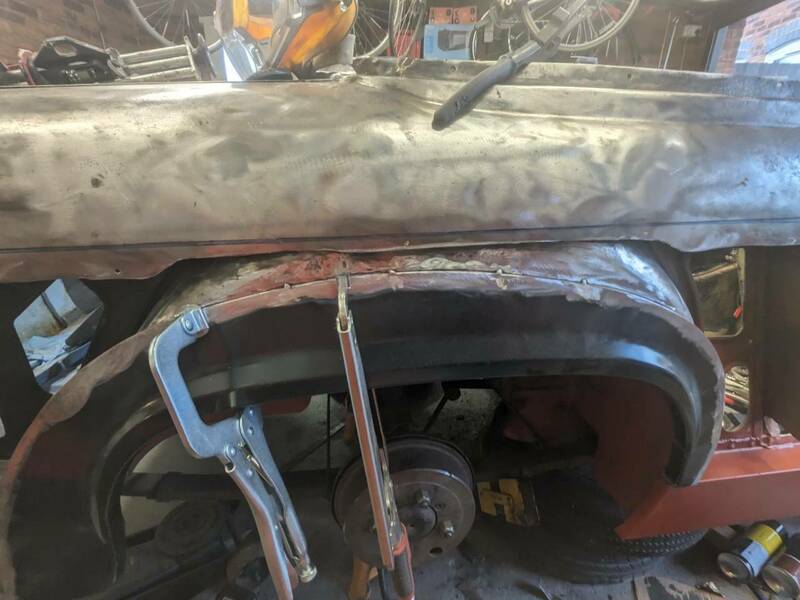
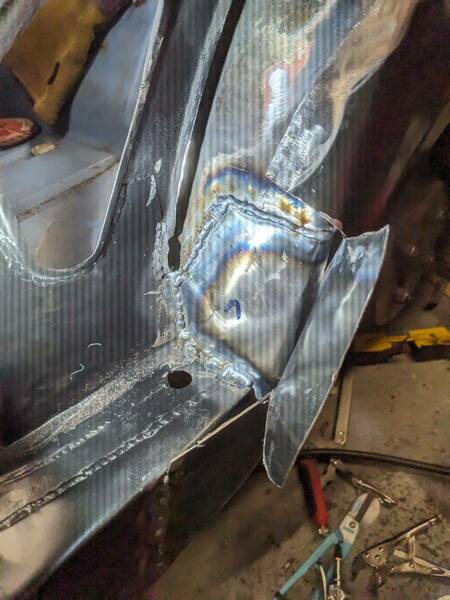
Next was fixing this hole.

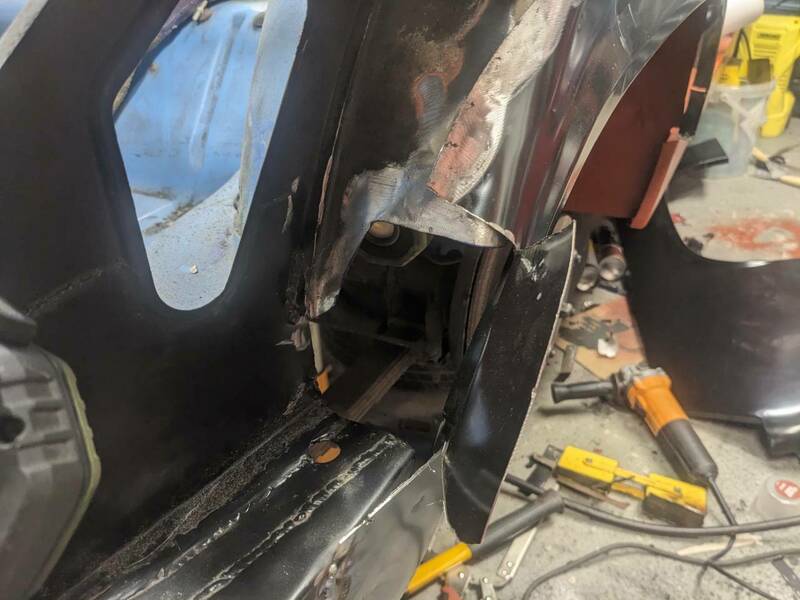
Cutting back the arch repair panel for both access and I'll be bashing it over the top after.
Using my trusted method of wallpaper lining paper to make a template (easier to bend and work with than straight cardboard while coming on a handy reel).
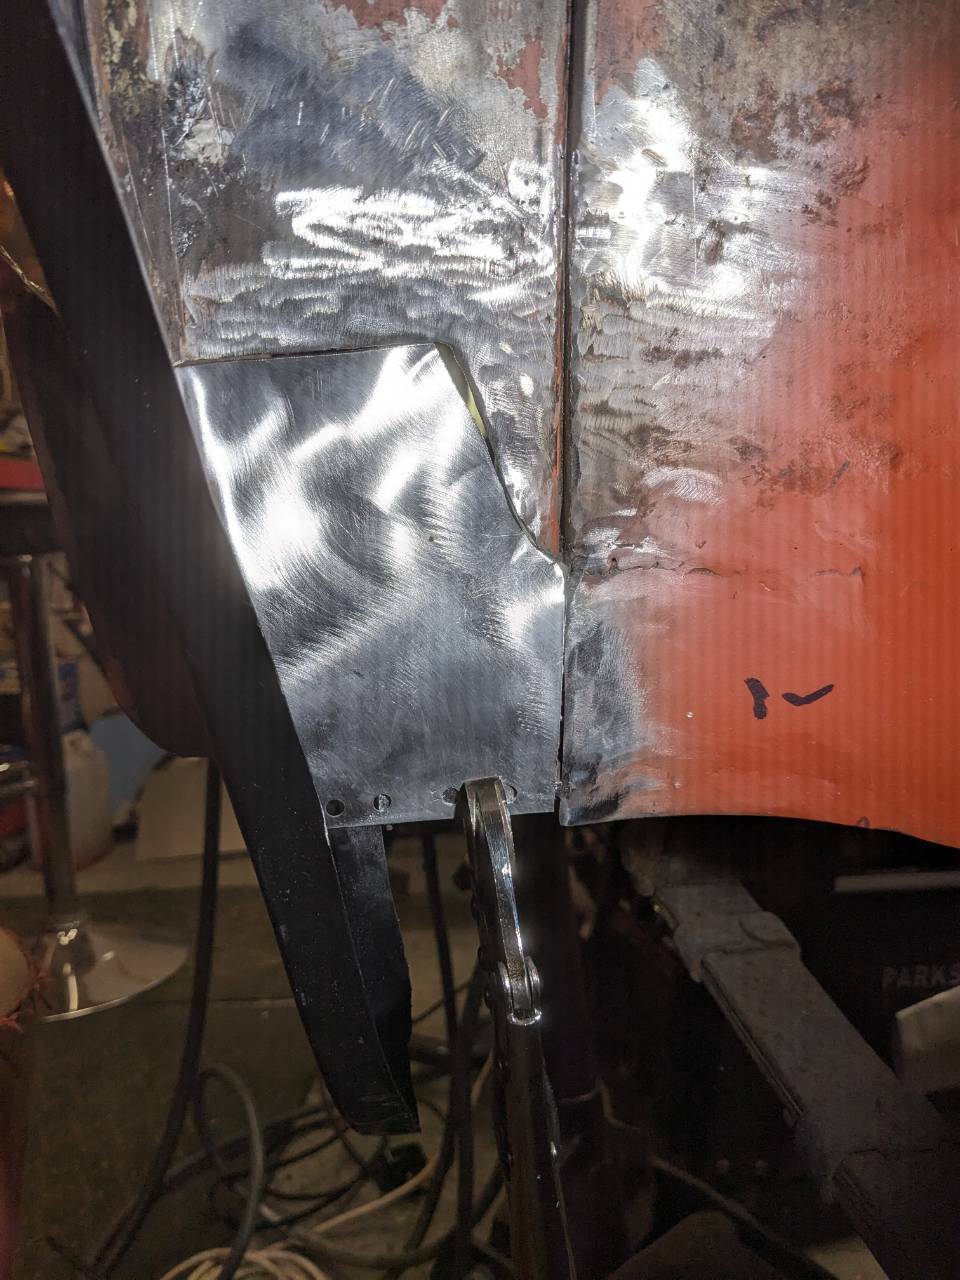
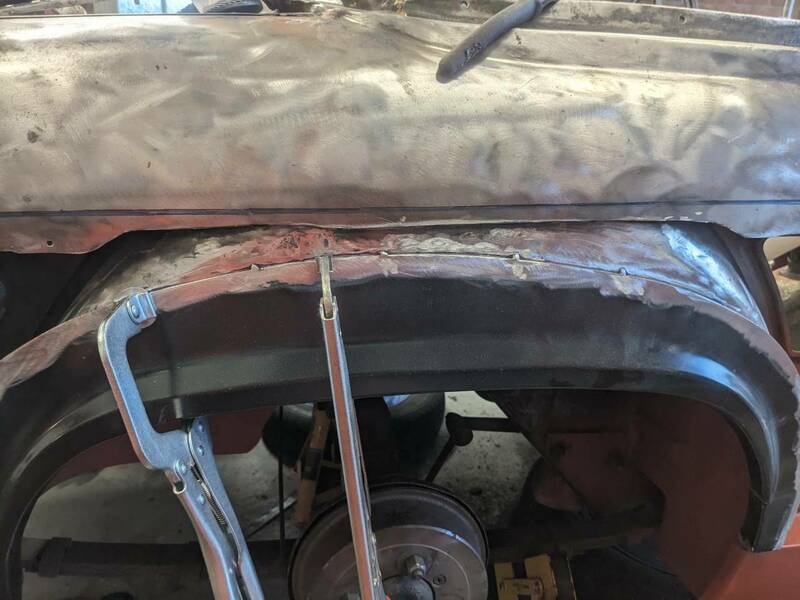
I'm running a bit short of metal so I'm reusing cut off old bits. This was the front footwell side panel. Nice thick metal and in the middle it's in good condition.
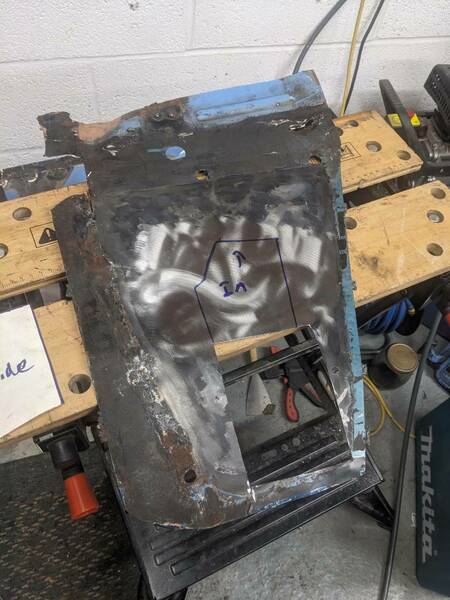
Cut out and fit into place.
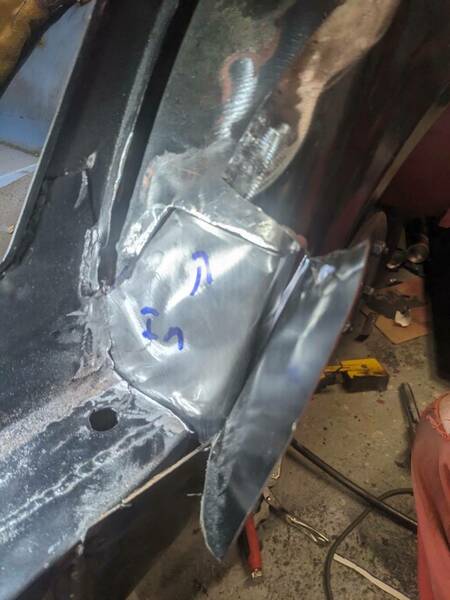

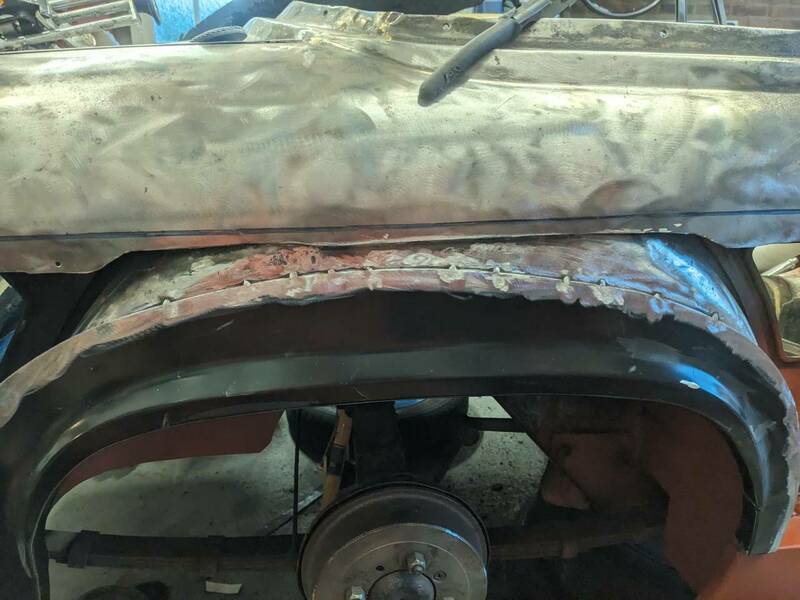
Weld (camera getting confused by my torch pwm)
Grind
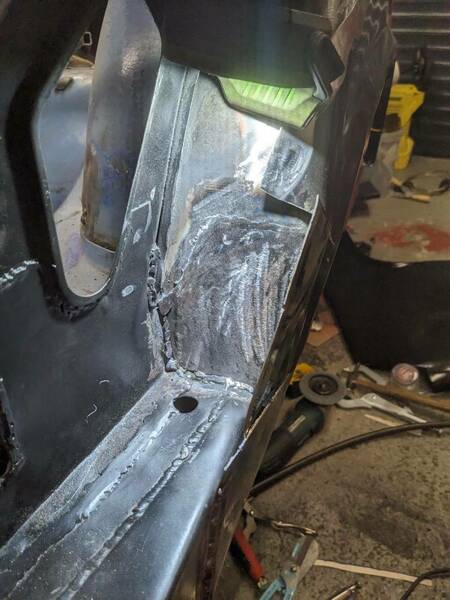
Other side had good penetration but I realised that this will be the most visible. So I ran another bead and grind down again.
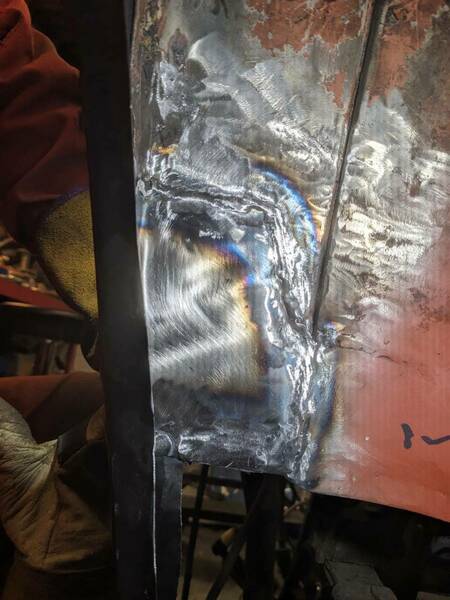
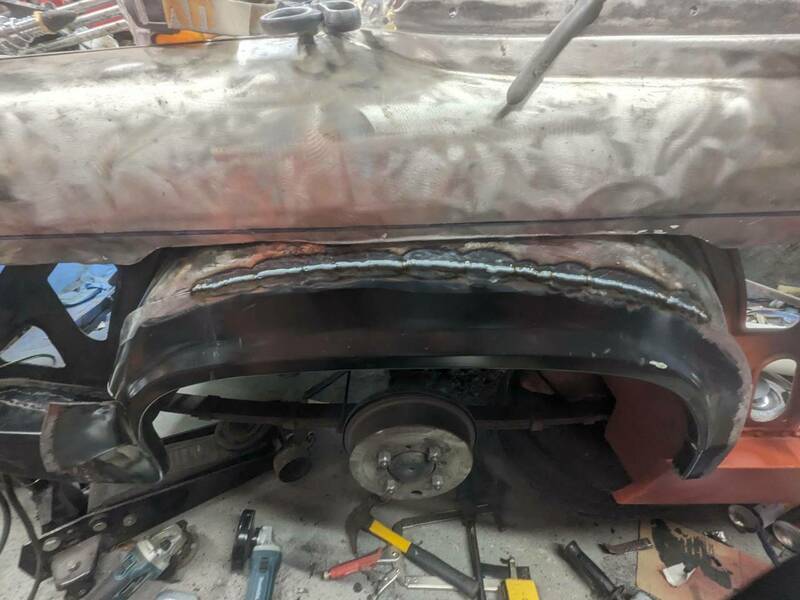
Then bend the inner repair panel back over. I might cut this back a bit more before welding on. I did the other side and still left plenty to close up the arch from the outside.