Right, been a while, have a new workshop closer to home. If we can ever shake this kung flu shit (thank you communist party of China and Corrupt World Health Organisation. Cunts) I will end up working 3 weeks near home and maybe a 1 week catching up in Devon.
Anyway enough of that, onwards.
Project Bobtail is no longer a bobtail and still in Devon. It is provisionally sold but I have invested quite a lot in it and because of cunting covidz my customer has yet been able to see me and hand over the first stage payment.
Anyway, it is on hold until 7 Dec when I will prep it for transport up to wycombe
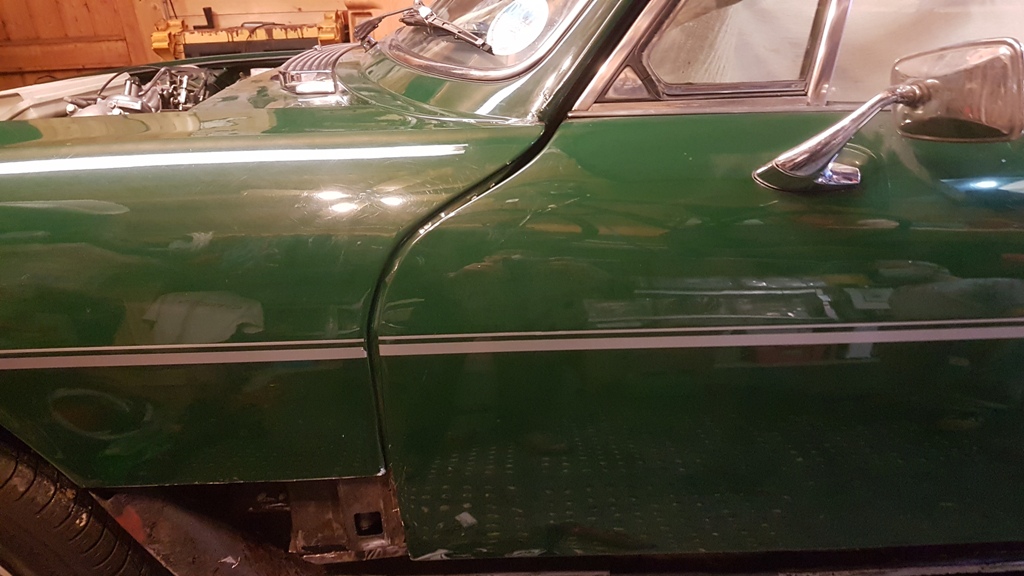
This is the passenger a-post back to rude health, needs a bit of finishing but it is getting there
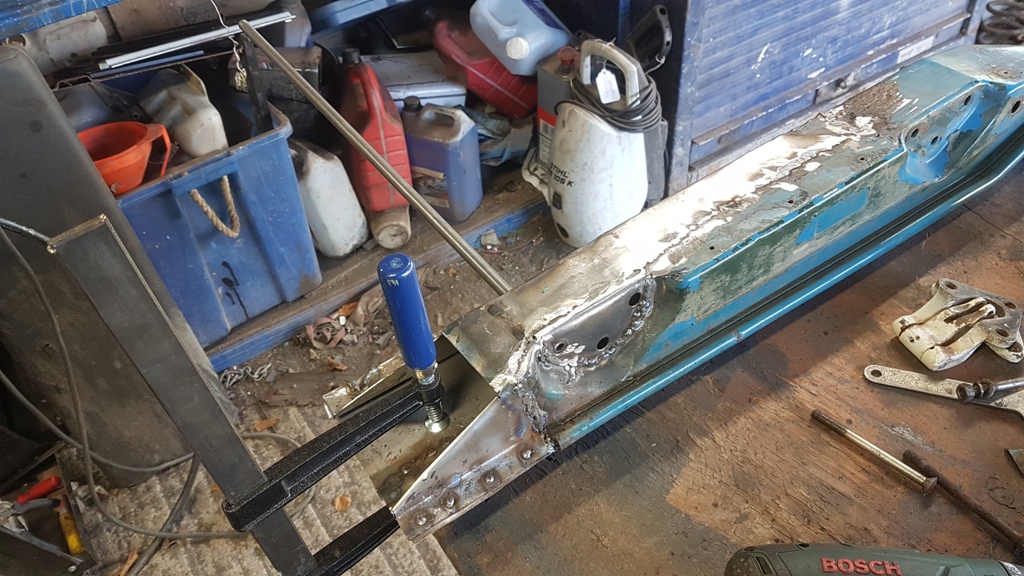
- 20201106_133052(0).jpg (310.54 KiB) Viewed 3467 times
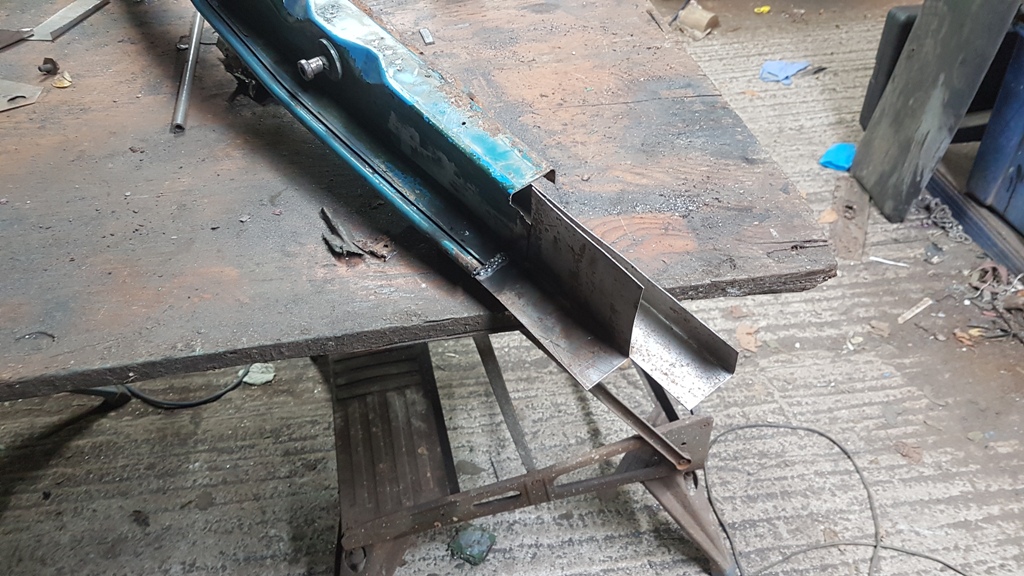
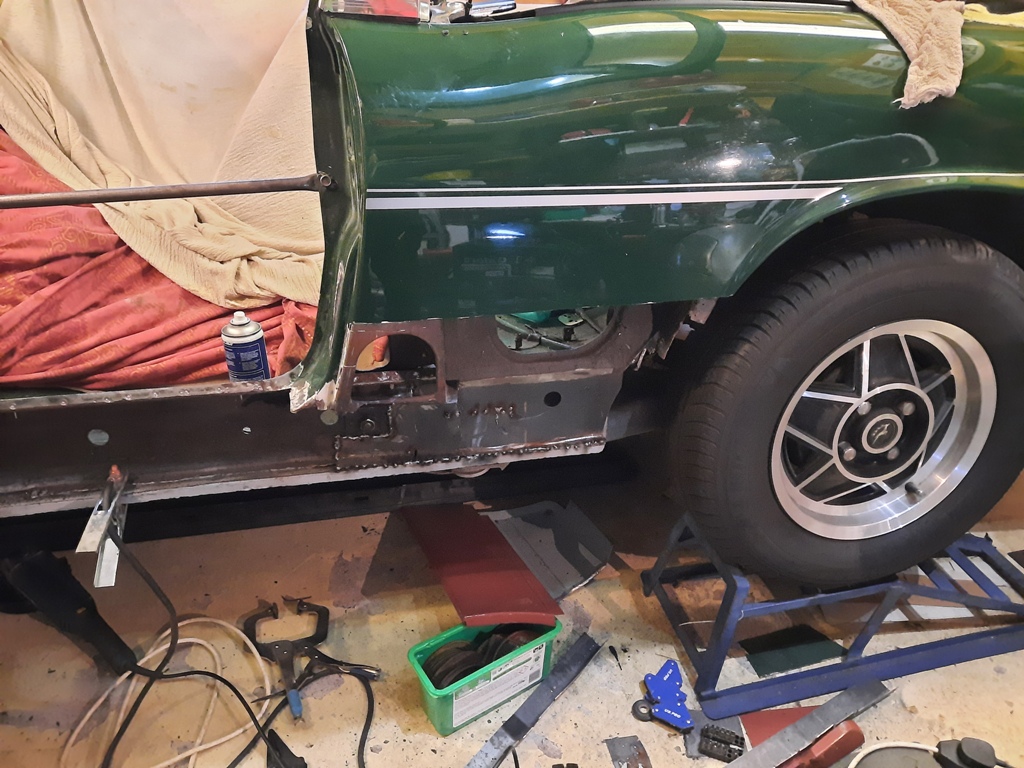
B post is quite complex but largely flat steel and right angles. quite easy to knock up the repairs
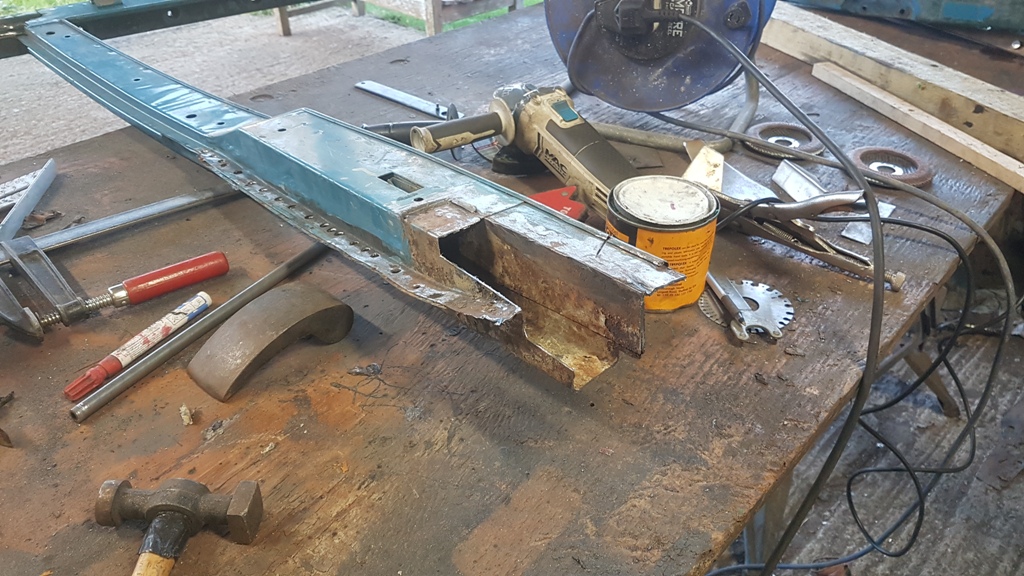
- 20201106_153452.jpg (314.12 KiB) Viewed 3467 times
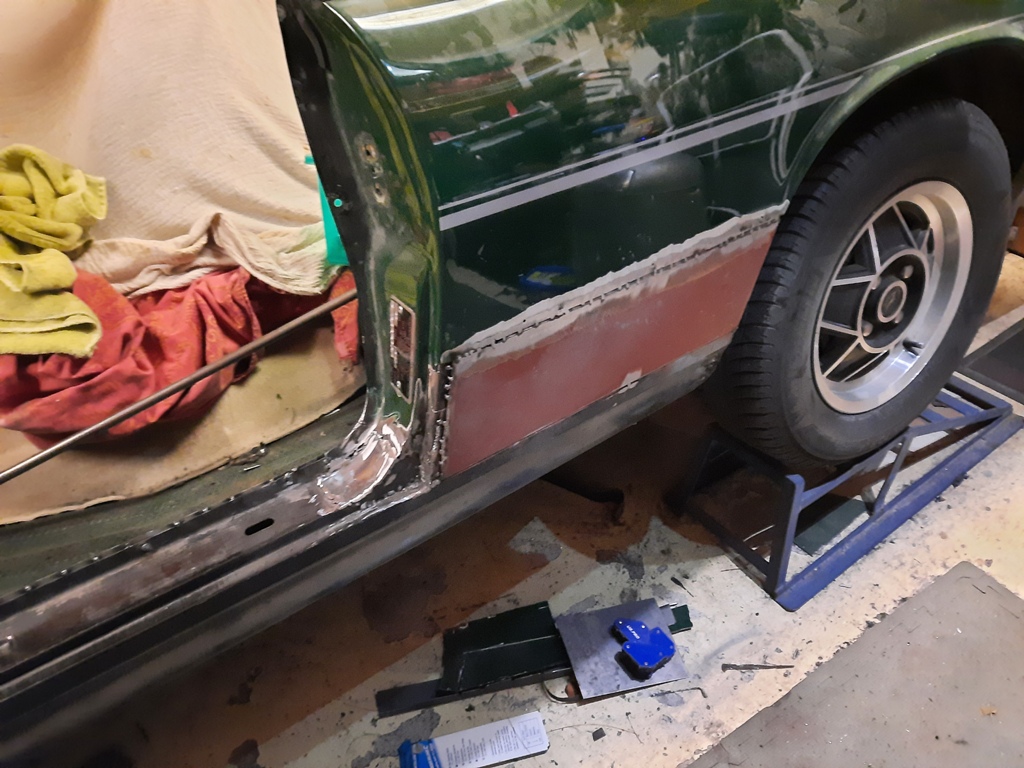
wip
- 20201106_174427.jpg (297.1 KiB) Viewed 3467 times
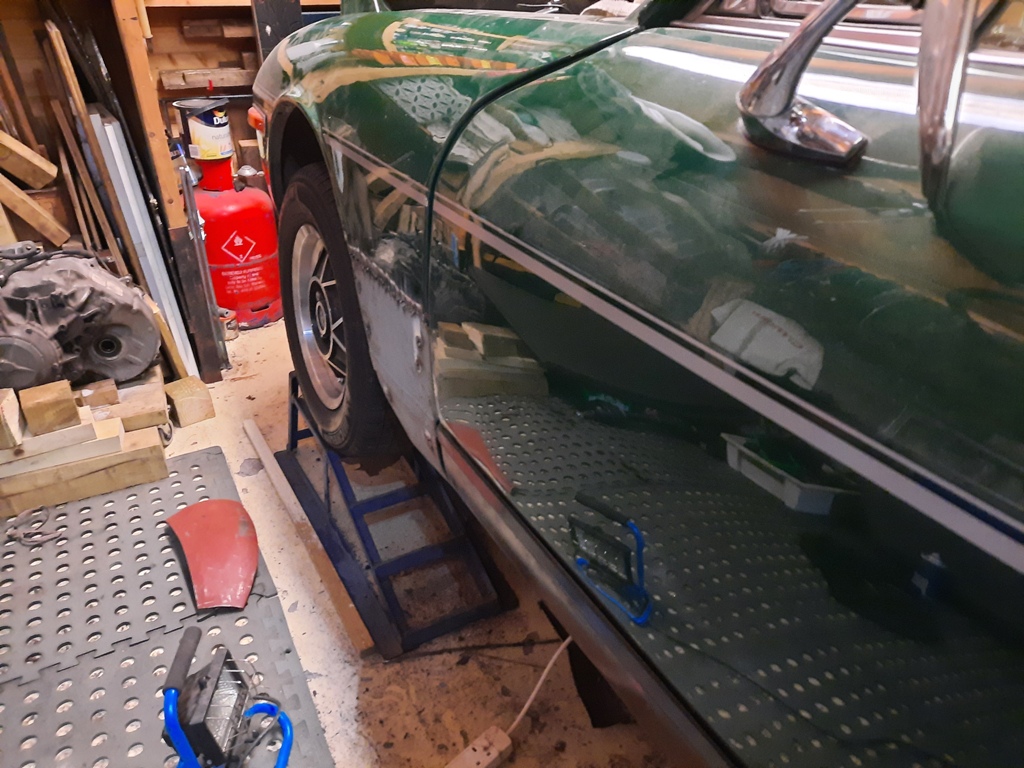
Fitting it to the car, bulkhead is 99%, sill is mounted to the chassis. Side frame (A and B posts) weld to the sill. I need to be sure that the gap between the a and b post is good. else it will be like a pair of lop sided tits with cross eyed nipples. You know, like a really bad boob job.
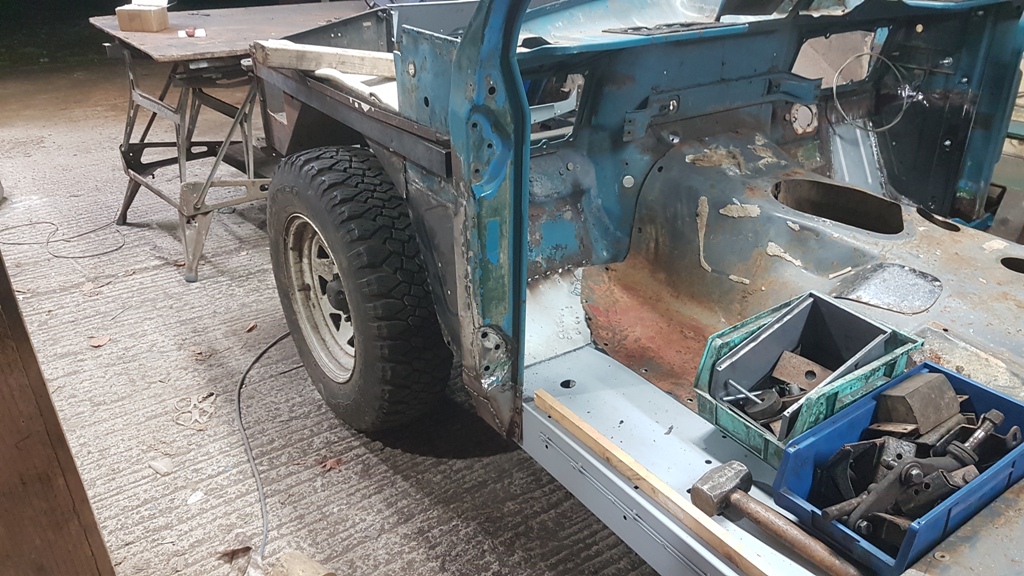
- 20201106_175915.jpg (315.25 KiB) Viewed 3467 times
stripped down the passenger door to get it light enough that I could man handle it and load it onto the a post to check alignment. Alas when I stripped the car down I cut the hinge off for some reason.
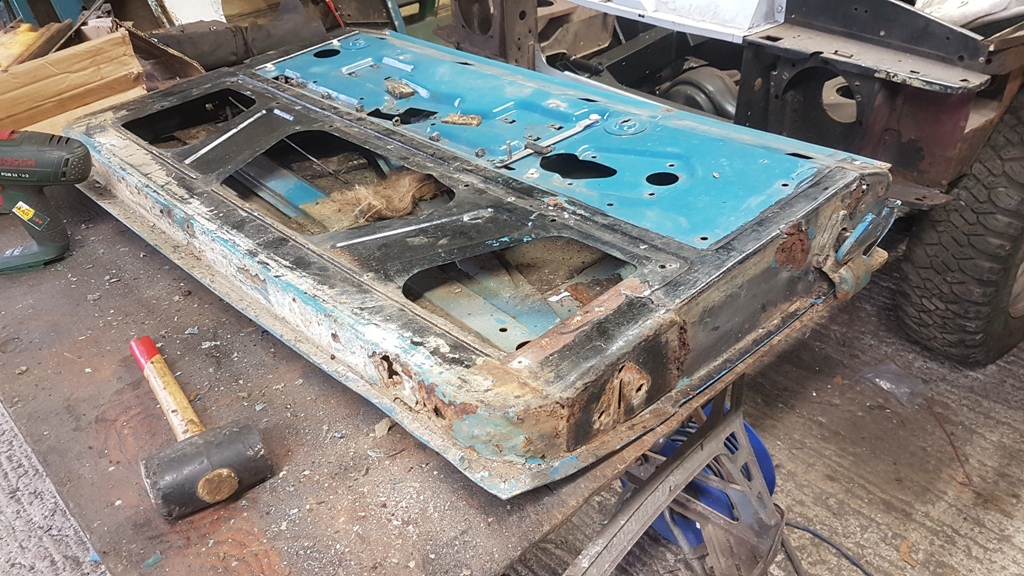
- 20201107_151250.jpg (347.94 KiB) Viewed 3467 times
No worries though because, and this is unheard of, the countersunk bolts undid. no fuss, no pain
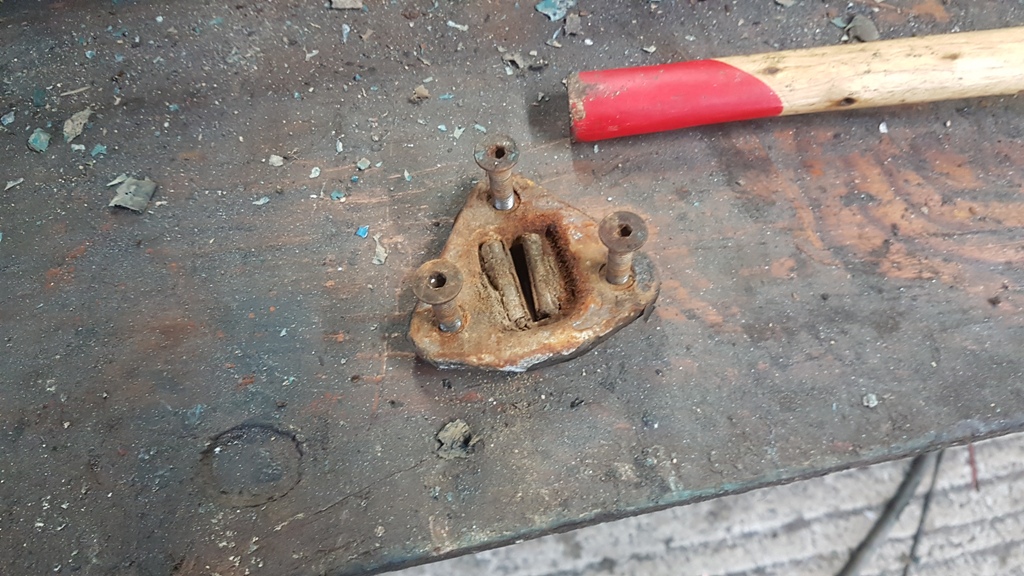
- 20201107_151256.jpg (304.43 KiB) Viewed 3467 times
This stag belongs to a mate, alas he has been struck down with the dreaded C hammer, started out Bowel but upon investigation found to be in his lungs as well. He started this renovation of his stag ages ago, cut off the cover sill and was getting ready to have a new sill welded on when all this kicked off. His local welder is not available so me and a few mates are getting it on the road by this weekend so at least he can enjoy driving it.
The car is challenged though, with no sill attached and the roll over t bar disconnected the gap at the top of the door is wider than at the bottom of the door!! Getting it solid and road legal is the challenge, I drew the welding straw and did this a couple of weekends ago.
- 20201108_162159.jpg (208.96 KiB) Viewed 3467 times
Bit like an MGB the outer sill panel goes up behind the rear and front wings. The owner went a bit mad cutting panels off, I would probably have used 50% of the repair panels and cut much lower. But it is what it is.
- 20201114_141205.jpg (326.15 KiB) Viewed 3467 times
Bit disappointed that lower rear wing panel did not go right up to the b-post. I used this as an opportunity to create so nicer door gaps
- 20201115_175341.jpg (301.35 KiB) Viewed 3467 times
This is my bit of the job done, really unhappy with the front wing, but having left home 8am saturday and find myself at near 6pm sunday and a 3h drive to get home I rushed it. Wish I hadnt now
- 20201115_175353.jpg (317.77 KiB) Viewed 3467 times
More to come
"The Dark Wob. You will never find a more wretched hive of scum and villainy. We must be cautious."