Well this was a pain in the ring. Someone went to nip up the piston rod glands on the Super and noticed that not everything was well. When we rebuilt the engine about five years ago or so we tested it by piping it to the S4's boiler. After showing that it ran fine we got on with building the rest of the waggon. That was not a bright idea because these had been made in EN24 which is ideal for the job with the exception of poor corrosion resistance. Normally it is not too much of a problem because everything gets covered in DC1000 steam oil (like treacle but stickier) which is injected into the steam feed. In this case, however, we hadn't run it for long enough to get everything oiled properly.
Both rods were well and truly buggered.
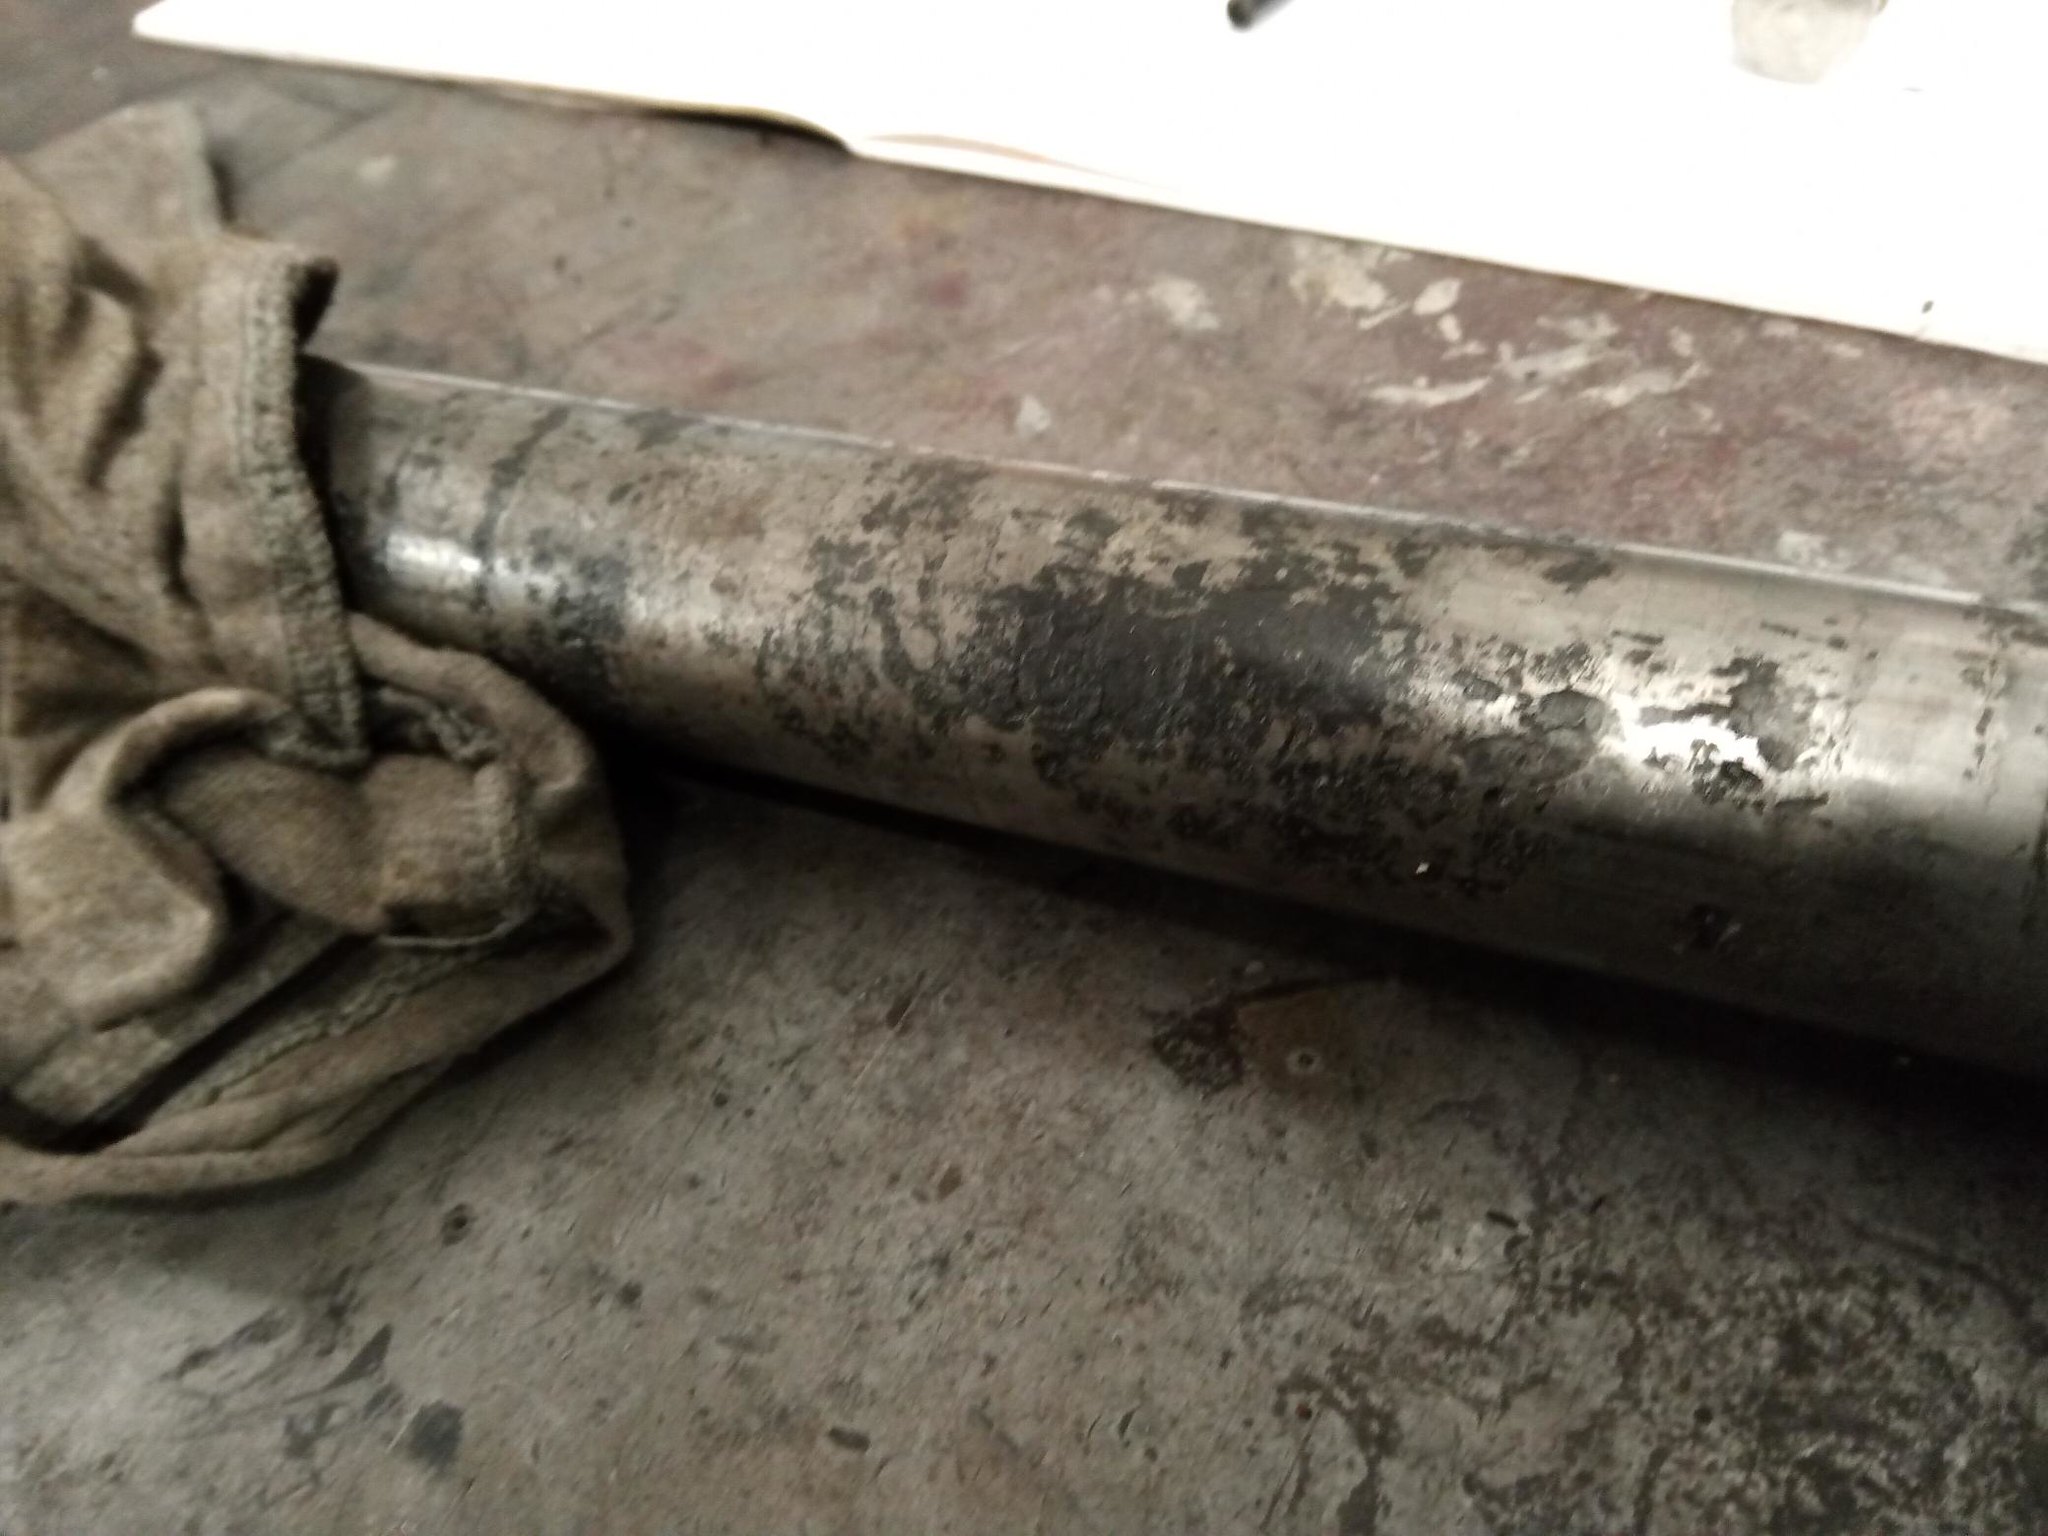
I managed to figure out how to get them out through the bottom end without too much dismantling but there is very little room in the crankcase because of the monstrous crankshaft. After mush swearing and bruising I worked out the way the the crank needed to be turned (not easy, either) to withdraw them. I'll have to figure out how to do it in reverse.
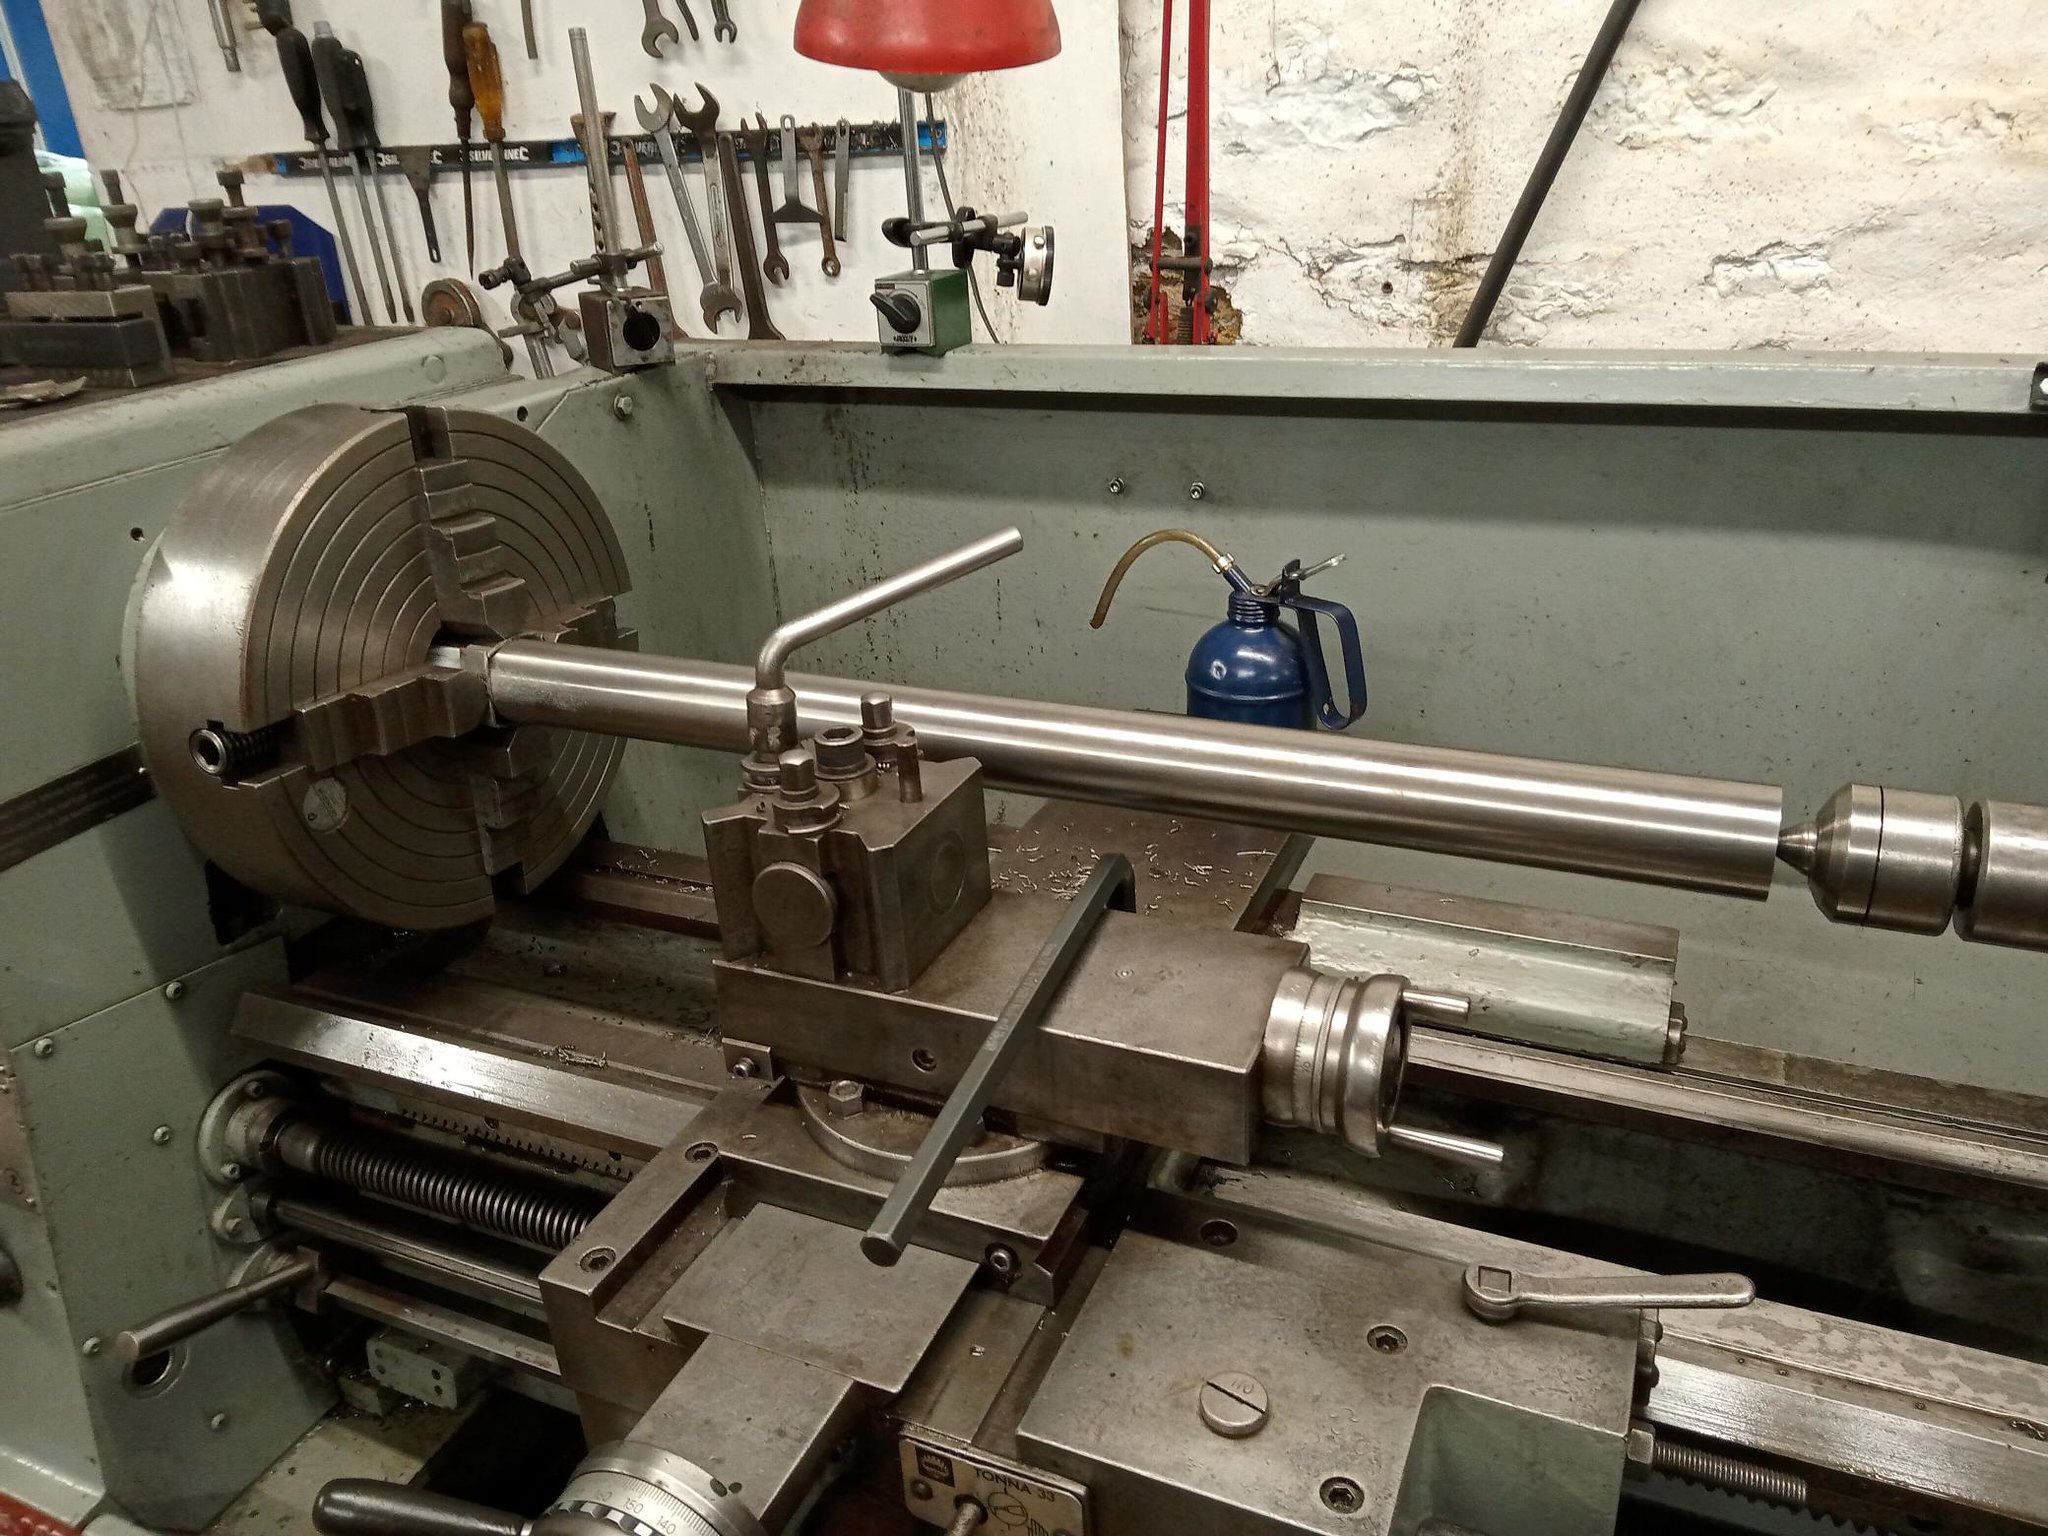
The new length of bar arrived very quickly so it will be something to do over Christmas for someone. To save them getting wrecked again the new ones will be sent for hard chrome plating so that should solve the problem forever.
I was remined when I took the cylinder heads off that I did not like the covers that had been made for them. These are just a simple dish that holds a bit of loose asbestos insulation in place for some reason or another. I was never happy with the way the new ones were made so being short of something to do I decided to have another go. Originally these were pressed from 1/8"th plate which seemed a little excessive so I decided to use a bit of 14swg (about 2mm). That would have been close to the original but it is bit of a bugger to form by hand. I spent most of Saturday with a 2lb ball pein hammer leathering shit of this thing on the leather sandbag. As long as you push through the "Jesus Christ, this is never going to work stage" after only a few hours you end up with something about the right shape. After that you dress it over a suitable stake using a slapper to get it somewhere near. After a bit more work (ha ha) it looks like this on the inside...

Which shows more than a little evidence of being worked but on the side you can see things looked somewhat better. Those scribbed lines were there just as a guide after which I did some more beating which is why they appear off. The bottom is flat. Promise.

I'll be honest I felt like a metal shaping god after doing this. I was even more pleased when I mounted it on a mandrel so I could spin it in the lathe to polish it it was only running about 3/16 out of round which I thought was a pretty good effort for doing it free hand.
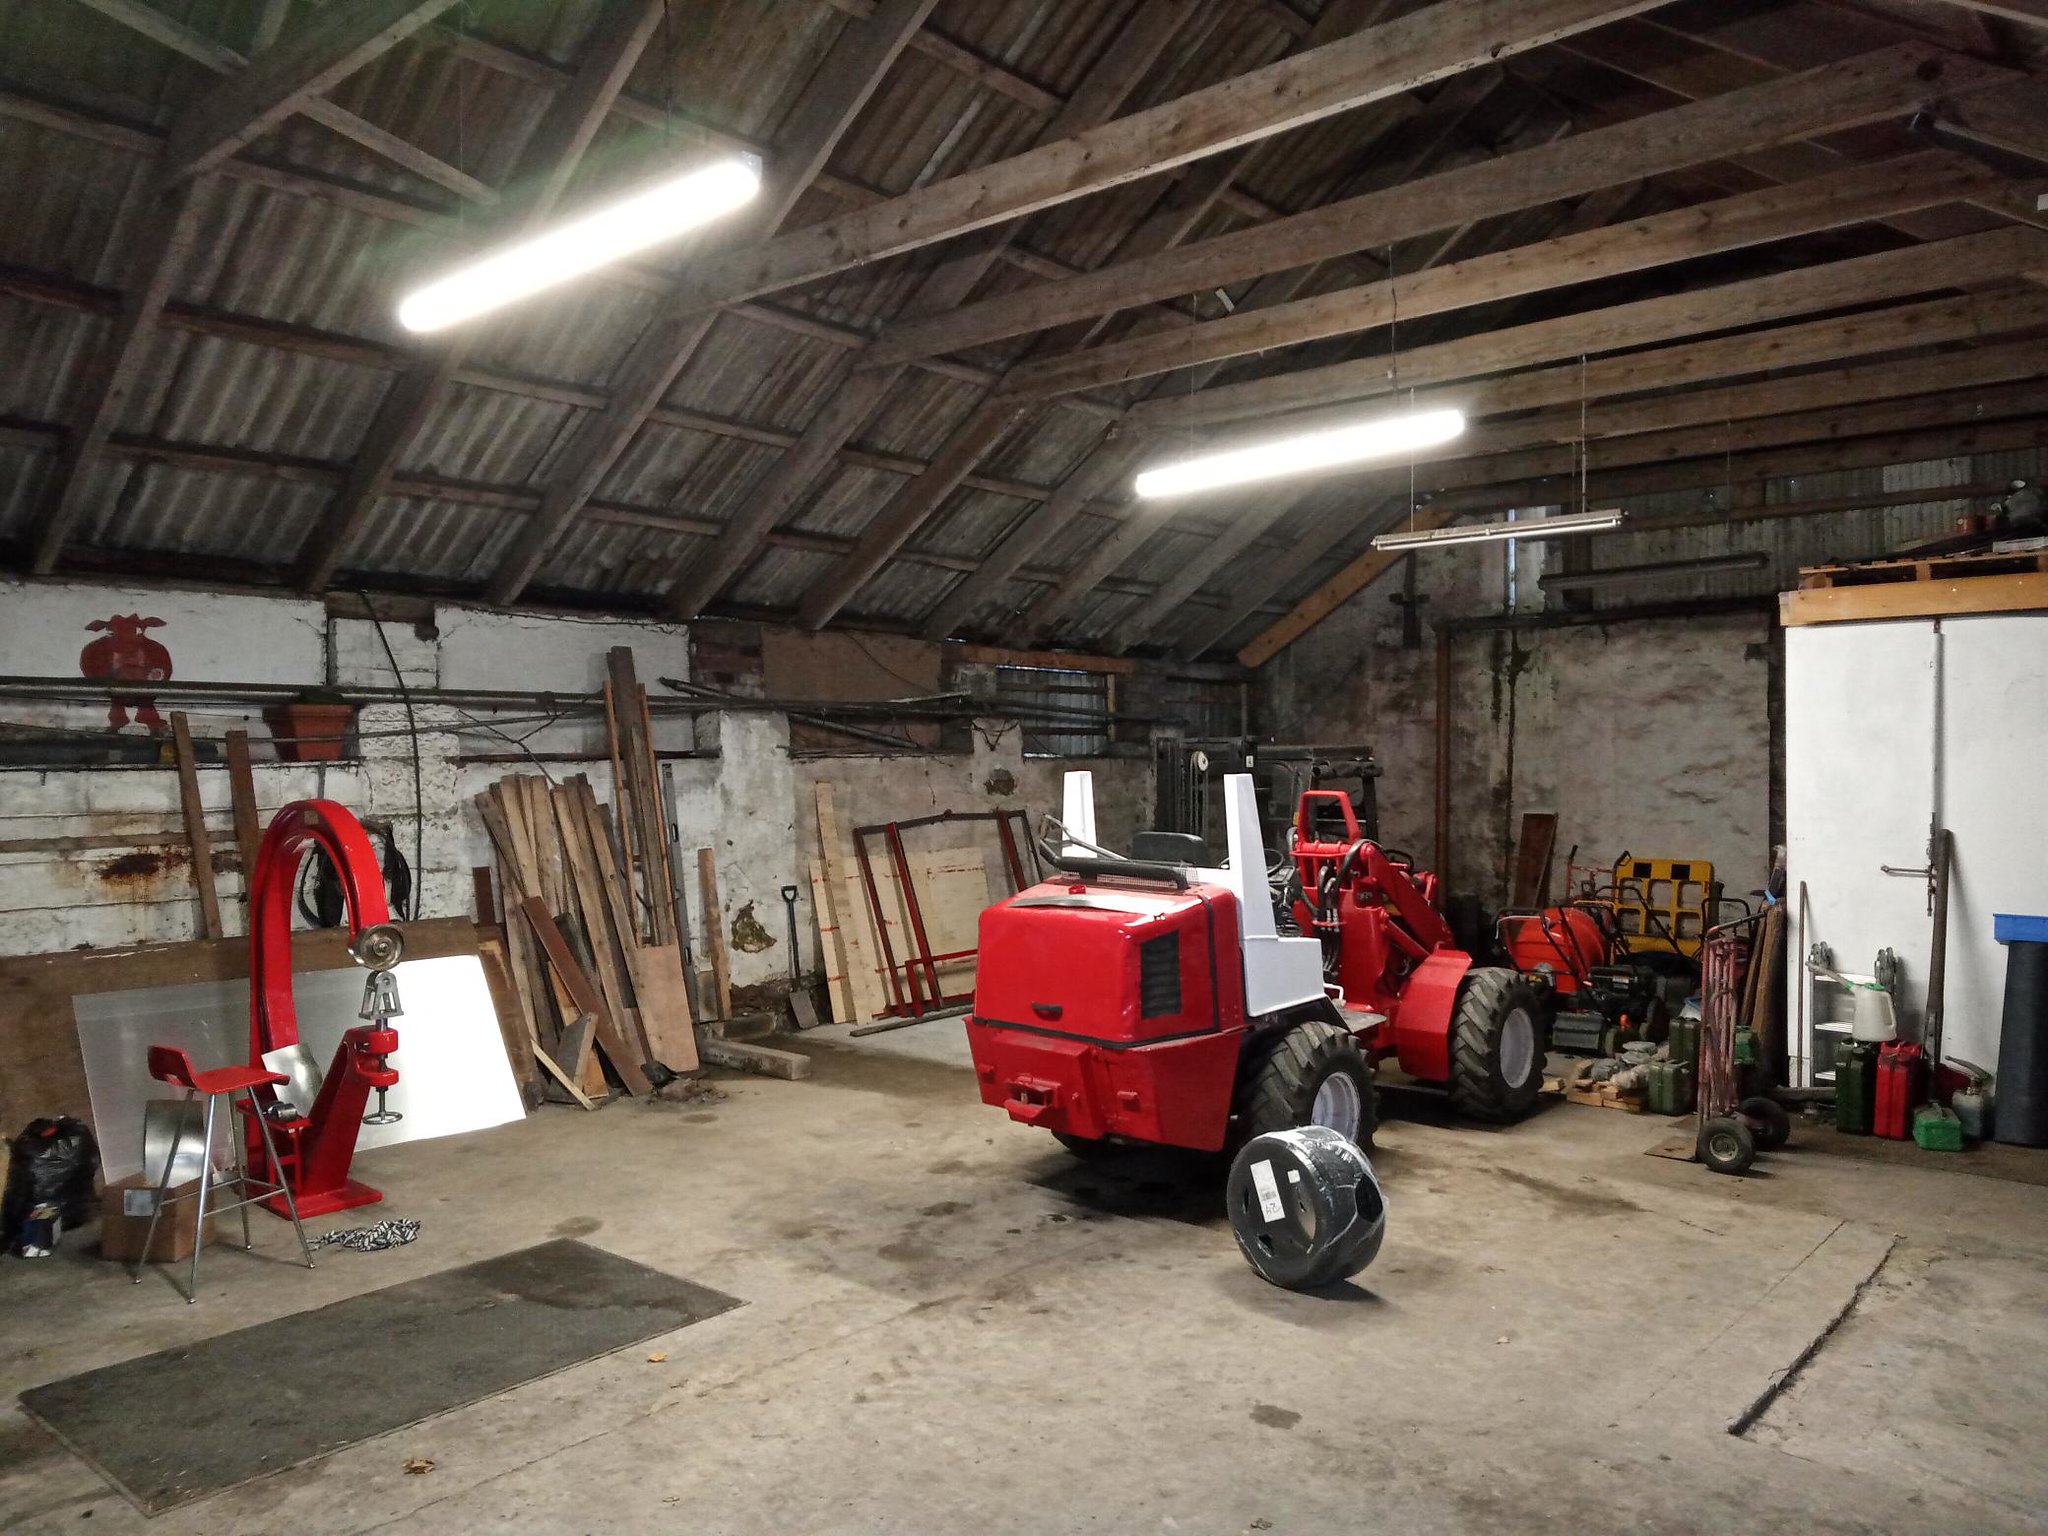
In other metal shaping news this arrived a couple of weeks back and we've only just got round to moving it to where it should be. I spent Sunday rolling bits of steel between it to see what happens which made me feel less of a metal shaping god and more of a clueless twat who hadn't got the foggiest what I was doing.
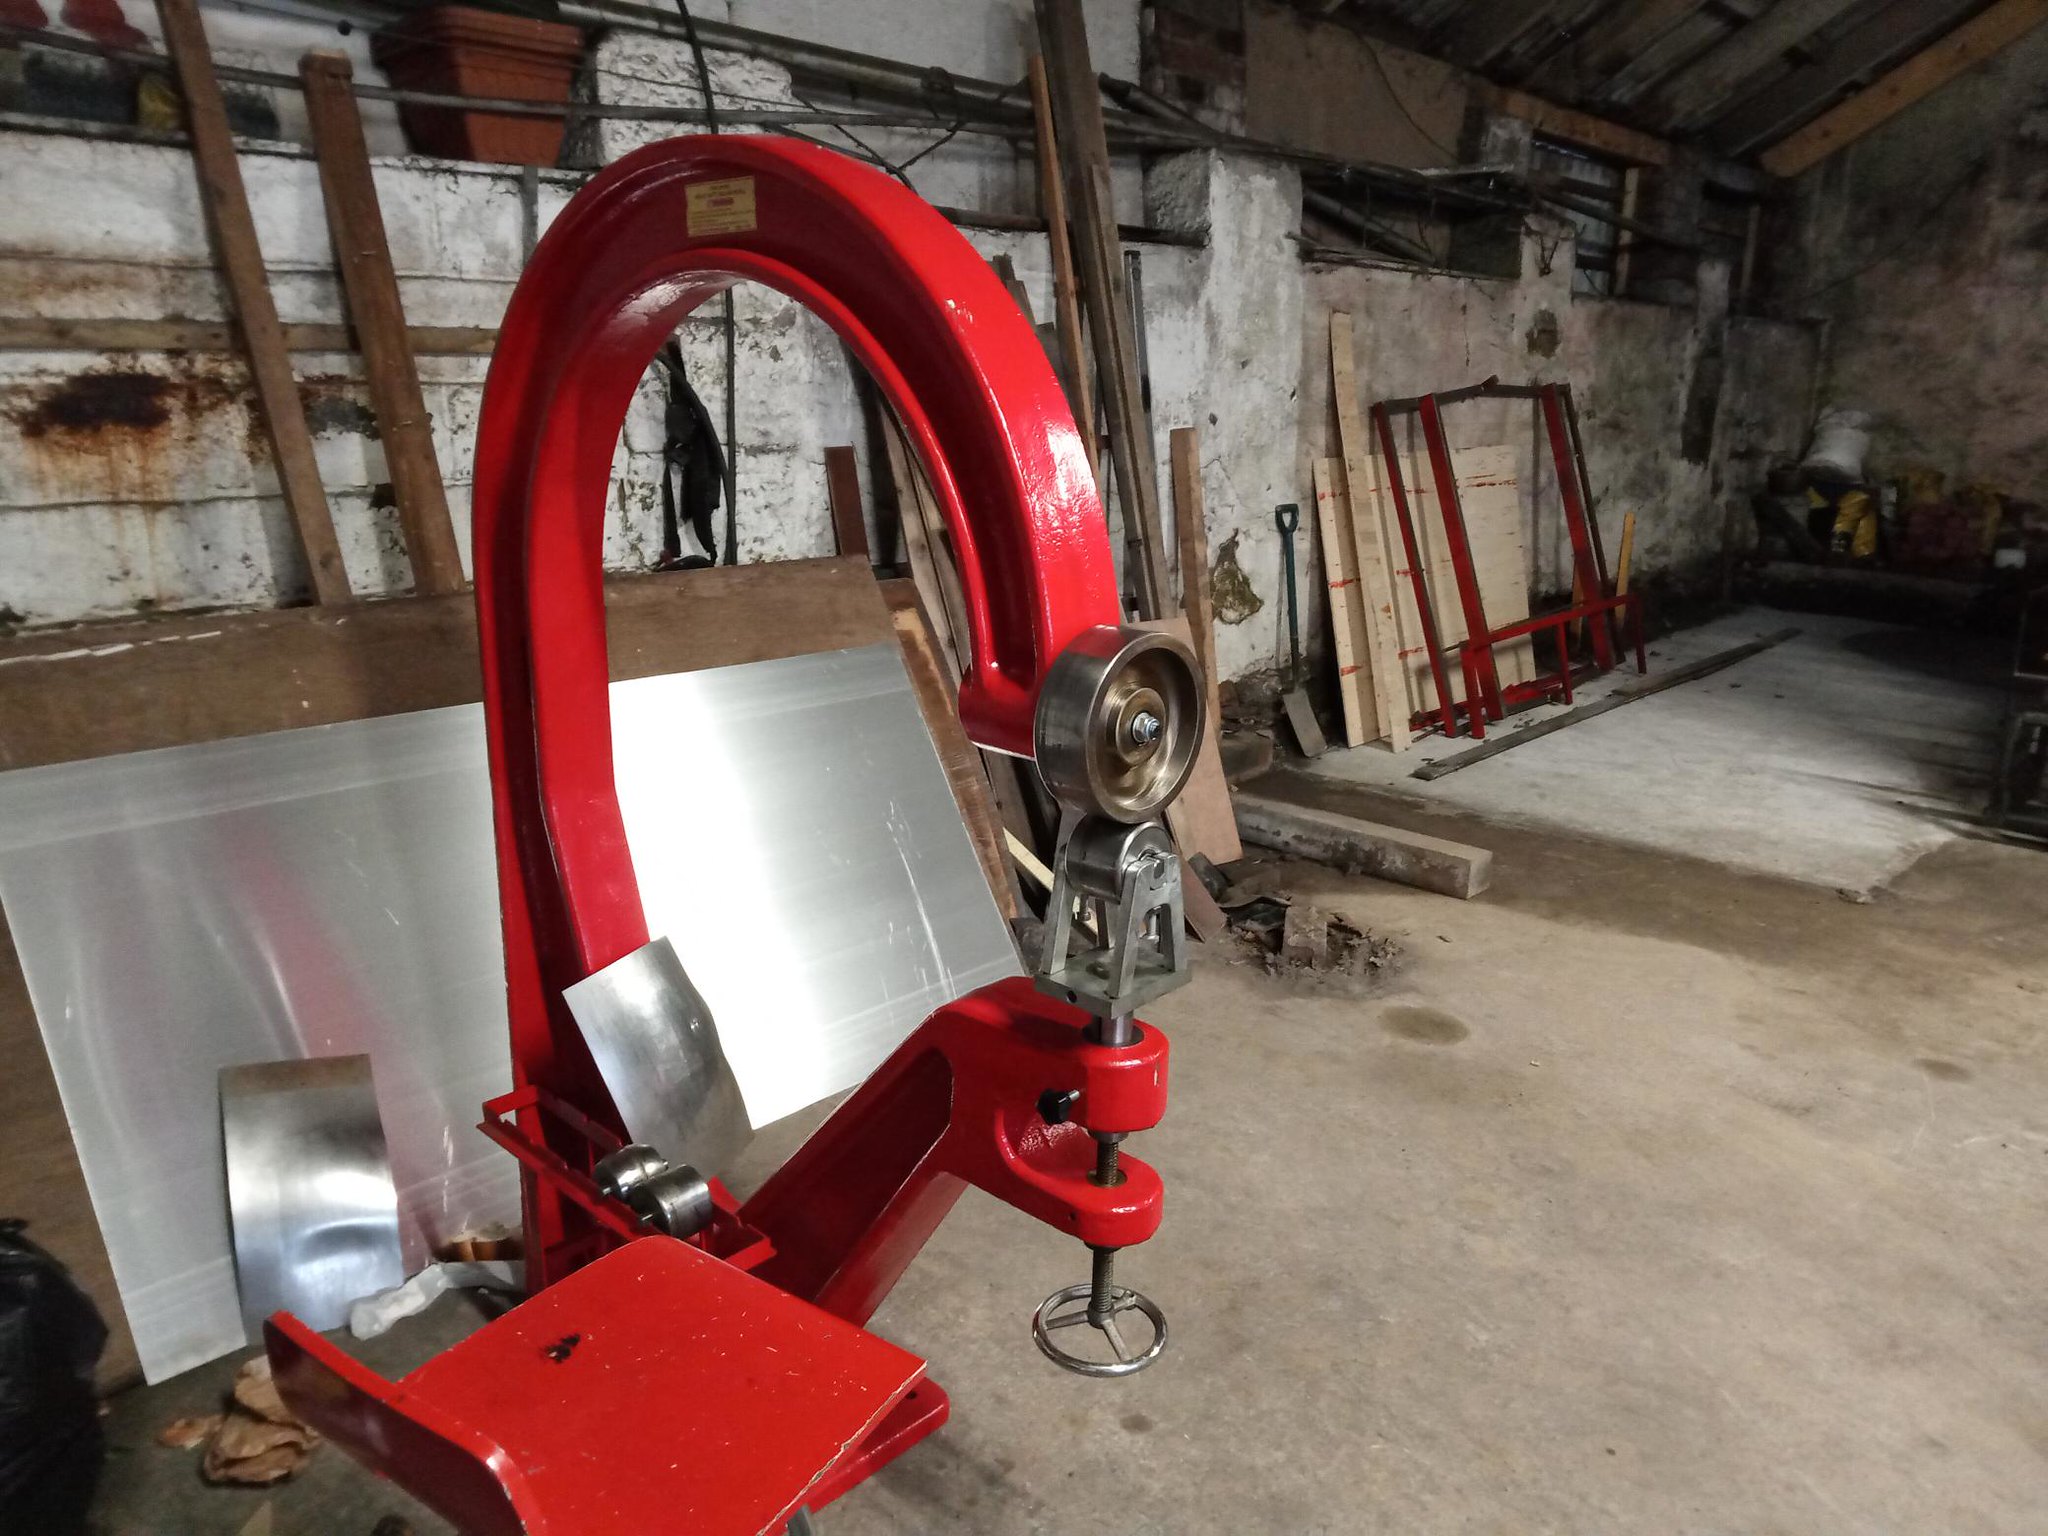
You may notice that the place it is in is not very nice at all. This bit of the building has never really been used for much other than a dumping ground. However, next door has just demolished their abattoir so there is a mountain of whitewall going buckshee so we thought it would be a good idea to line this place with whitewall and put a whitewall ceiling in it which should make a nice bright and warm space to do vehicular tin bashing.
Just need to find the talent somewhere to do something with it.