Page 6 of 24
Re: Dan's Crapi project.
Posted: Tue Jul 07, 2020 9:02 pm
by mercrocker
Nice to hear from you again, Dan - and the Capri of course! Good result on the bumpers - better than trying to rely on dodgy chrome-plate work.
Re: Dan's Crapi project.
Posted: Tue Jul 07, 2020 9:05 pm
by Hooli
Nice to see an update Dan, I had wondered how this was getting on.
Re: Dan's Crapi project.
Posted: Tue Jul 07, 2020 9:11 pm
by Danthecapriman
Re: Dan's Crapi project.
Posted: Tue Jul 07, 2020 9:12 pm
by Hooli
I'd be rather worried about the paint as I offered those bumpers up!
Re: Dan's Crapi project.
Posted: Tue Jul 07, 2020 9:19 pm
by Danthecapriman
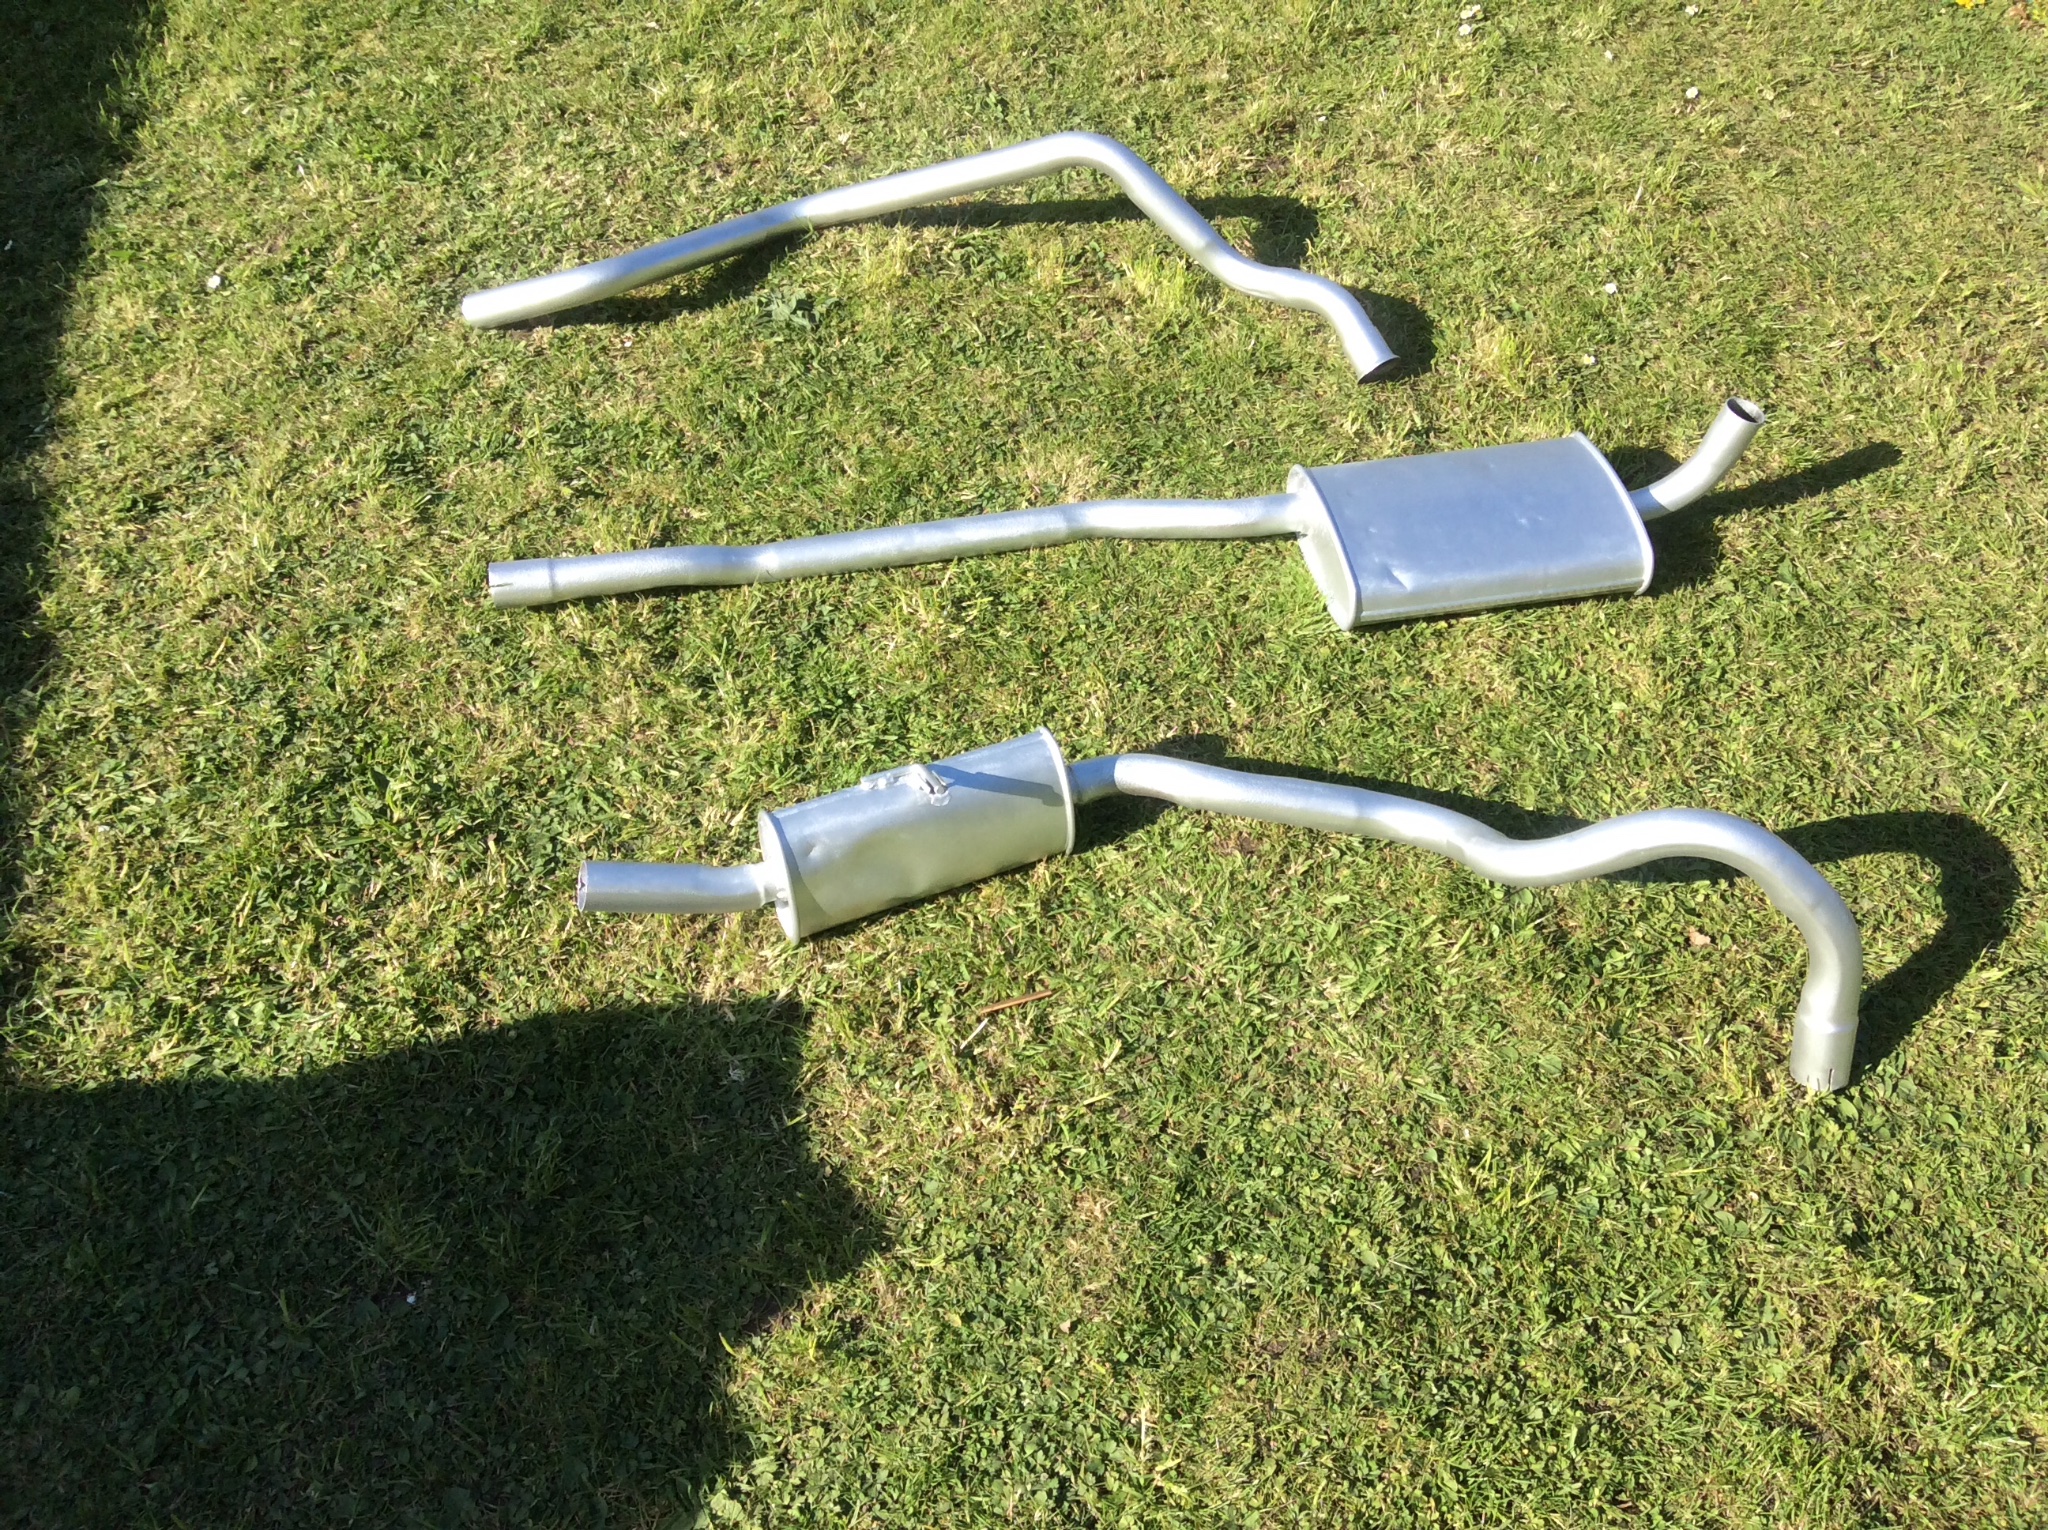
Next job was deciding what to do about the exhaust.
I’ve kept the standard exhaust manifold, preferring to stick to that instead of going for tubular ones, so for now, I’ve checked over the old exhaust system, which turned out to be in fine shape aside from a bit of surface rust. I’ll reuse this and see how it goes I think! Maybe at a later date I’ll look into a stainless replacement system.
But, it ain’t going back on covered in rust! So I stripped it down, rust stripped all the fittings and brackets, then used a grinder and wire brush to get as much of the surface rust off as possible, then gave it all a coat of silver heat proof paint. It’ll almost certainly flake off eventually or rust will come through again but it’ll look the part for a while at least.

- 63A6C664-DACC-45F5-87CA-AD35DF8E6F51.jpeg (1.12 MiB) Viewed 3927 times

- D1094645-840B-4187-B88A-39F39FFCD409.jpeg (1.36 MiB) Viewed 3927 times
- DC15521E-66B8-4C68-A0EB-BF2E25FC7382.jpeg (1.88 MiB) Viewed 3927 times
Re: Dan's Crapi project.
Posted: Tue Jul 07, 2020 9:20 pm
by Danthecapriman
Hooli wrote: ↑Tue Jul 07, 2020 9:12 pm
I'd be rather worried about the paint as I offered those bumpers up!
That was a concern, yes!! I had to get help to hold them at each end while I bolted them on.
Re: Dan's Crapi project.
Posted: Tue Jul 07, 2020 9:26 pm
by Hooli
That exhaust looks like new!
Re: Dan's Crapi project.
Posted: Tue Jul 07, 2020 9:36 pm
by Danthecapriman
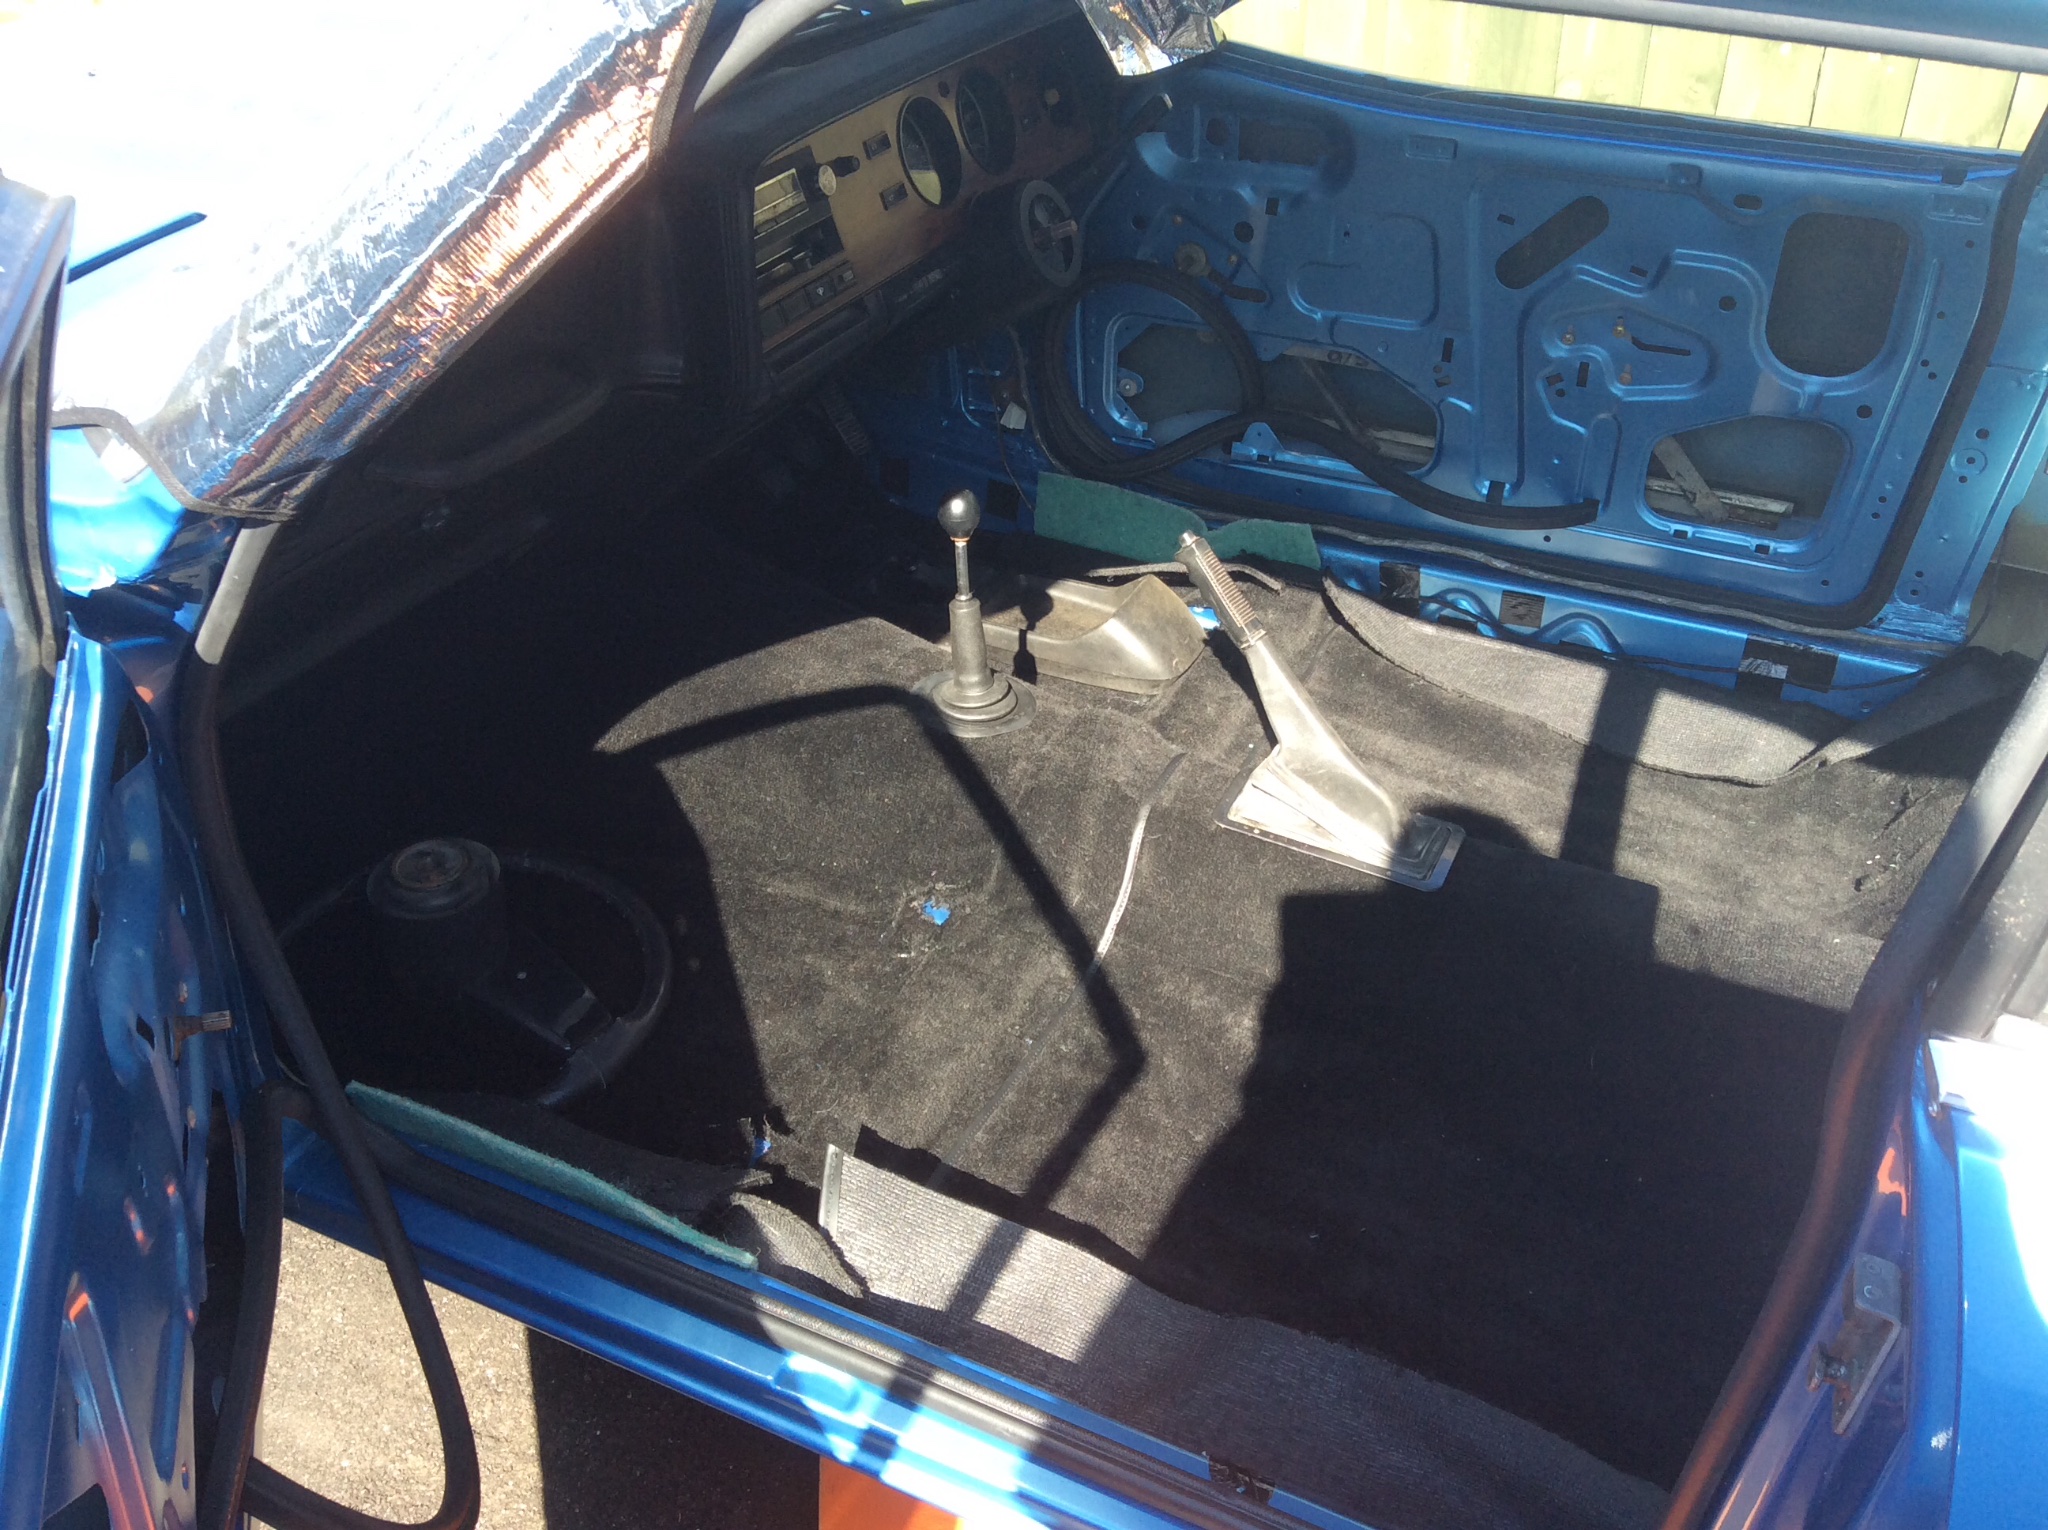
More of the interior next.
I fitted the new carpet set. Unlike the original (which was absolutely fucked!) the new one is in two parts. I thought this would make fitting easier, but it seems these new replacements aren’t moulded to shape like the original ones and are actually a bit of a pig to fit. Also, they literally only just meet each other where the two halves join in the middle. Once the carpet was sorted I refitted the gearstick and handbrake lever, then realised I’d fucked up and forgot to fit the metal bracket for the gearstick gaiter! Which meant having to lift the carpet I’d just spent ages fitting, screwing the bracket onto the transmission tunnel and relaying the carpet. Again.
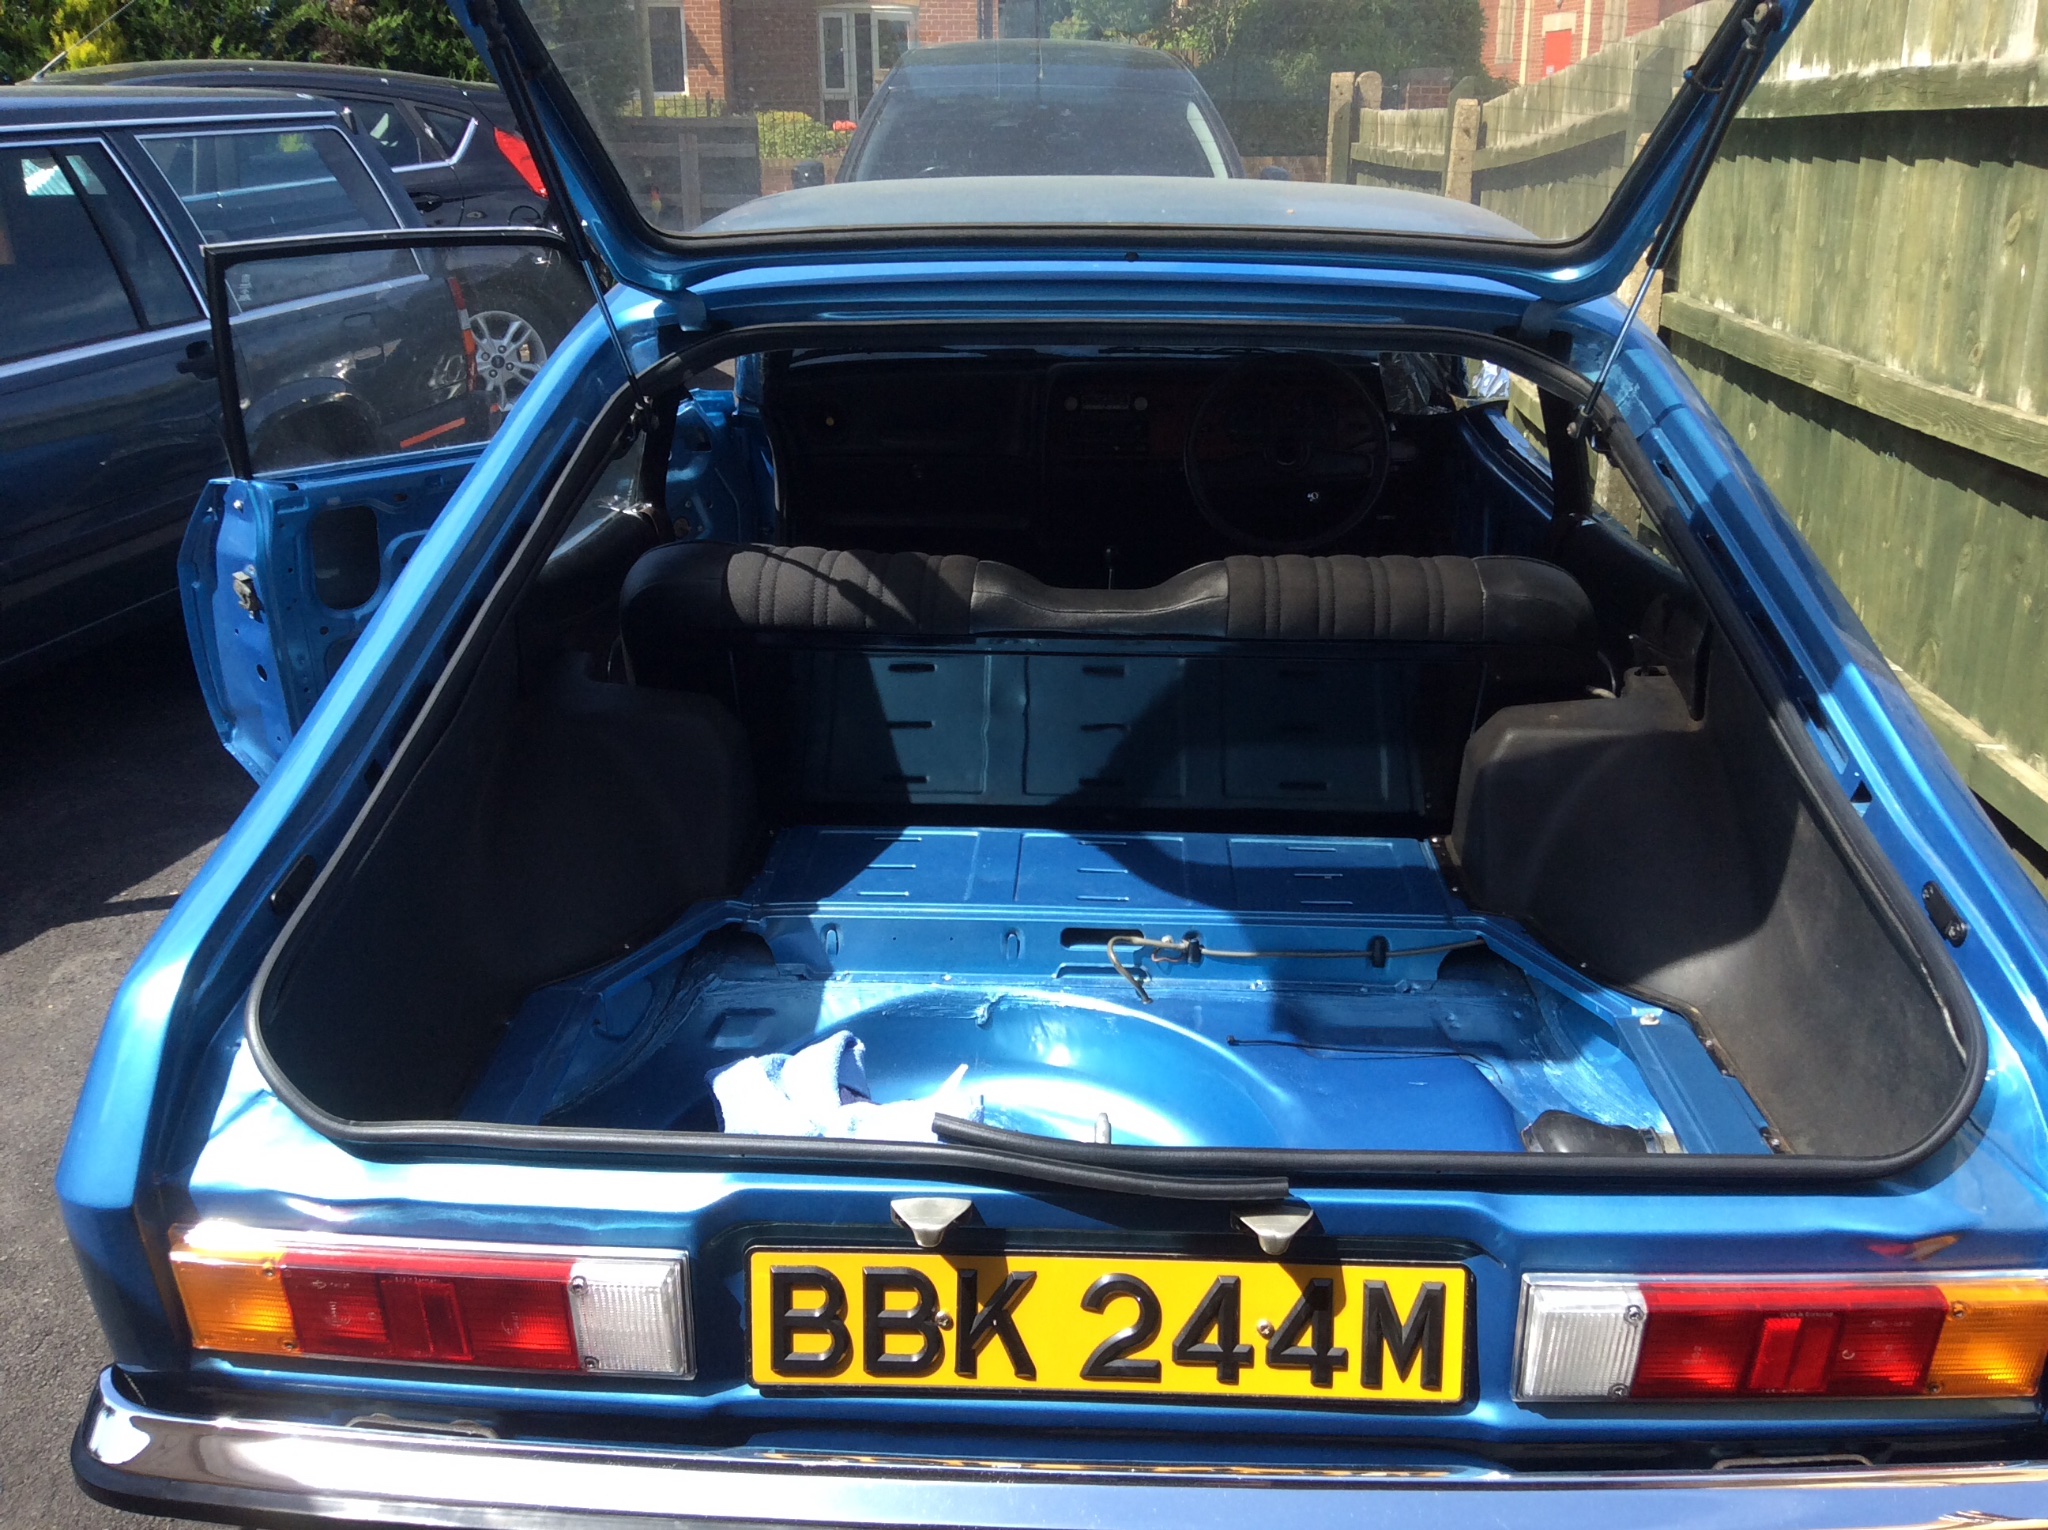
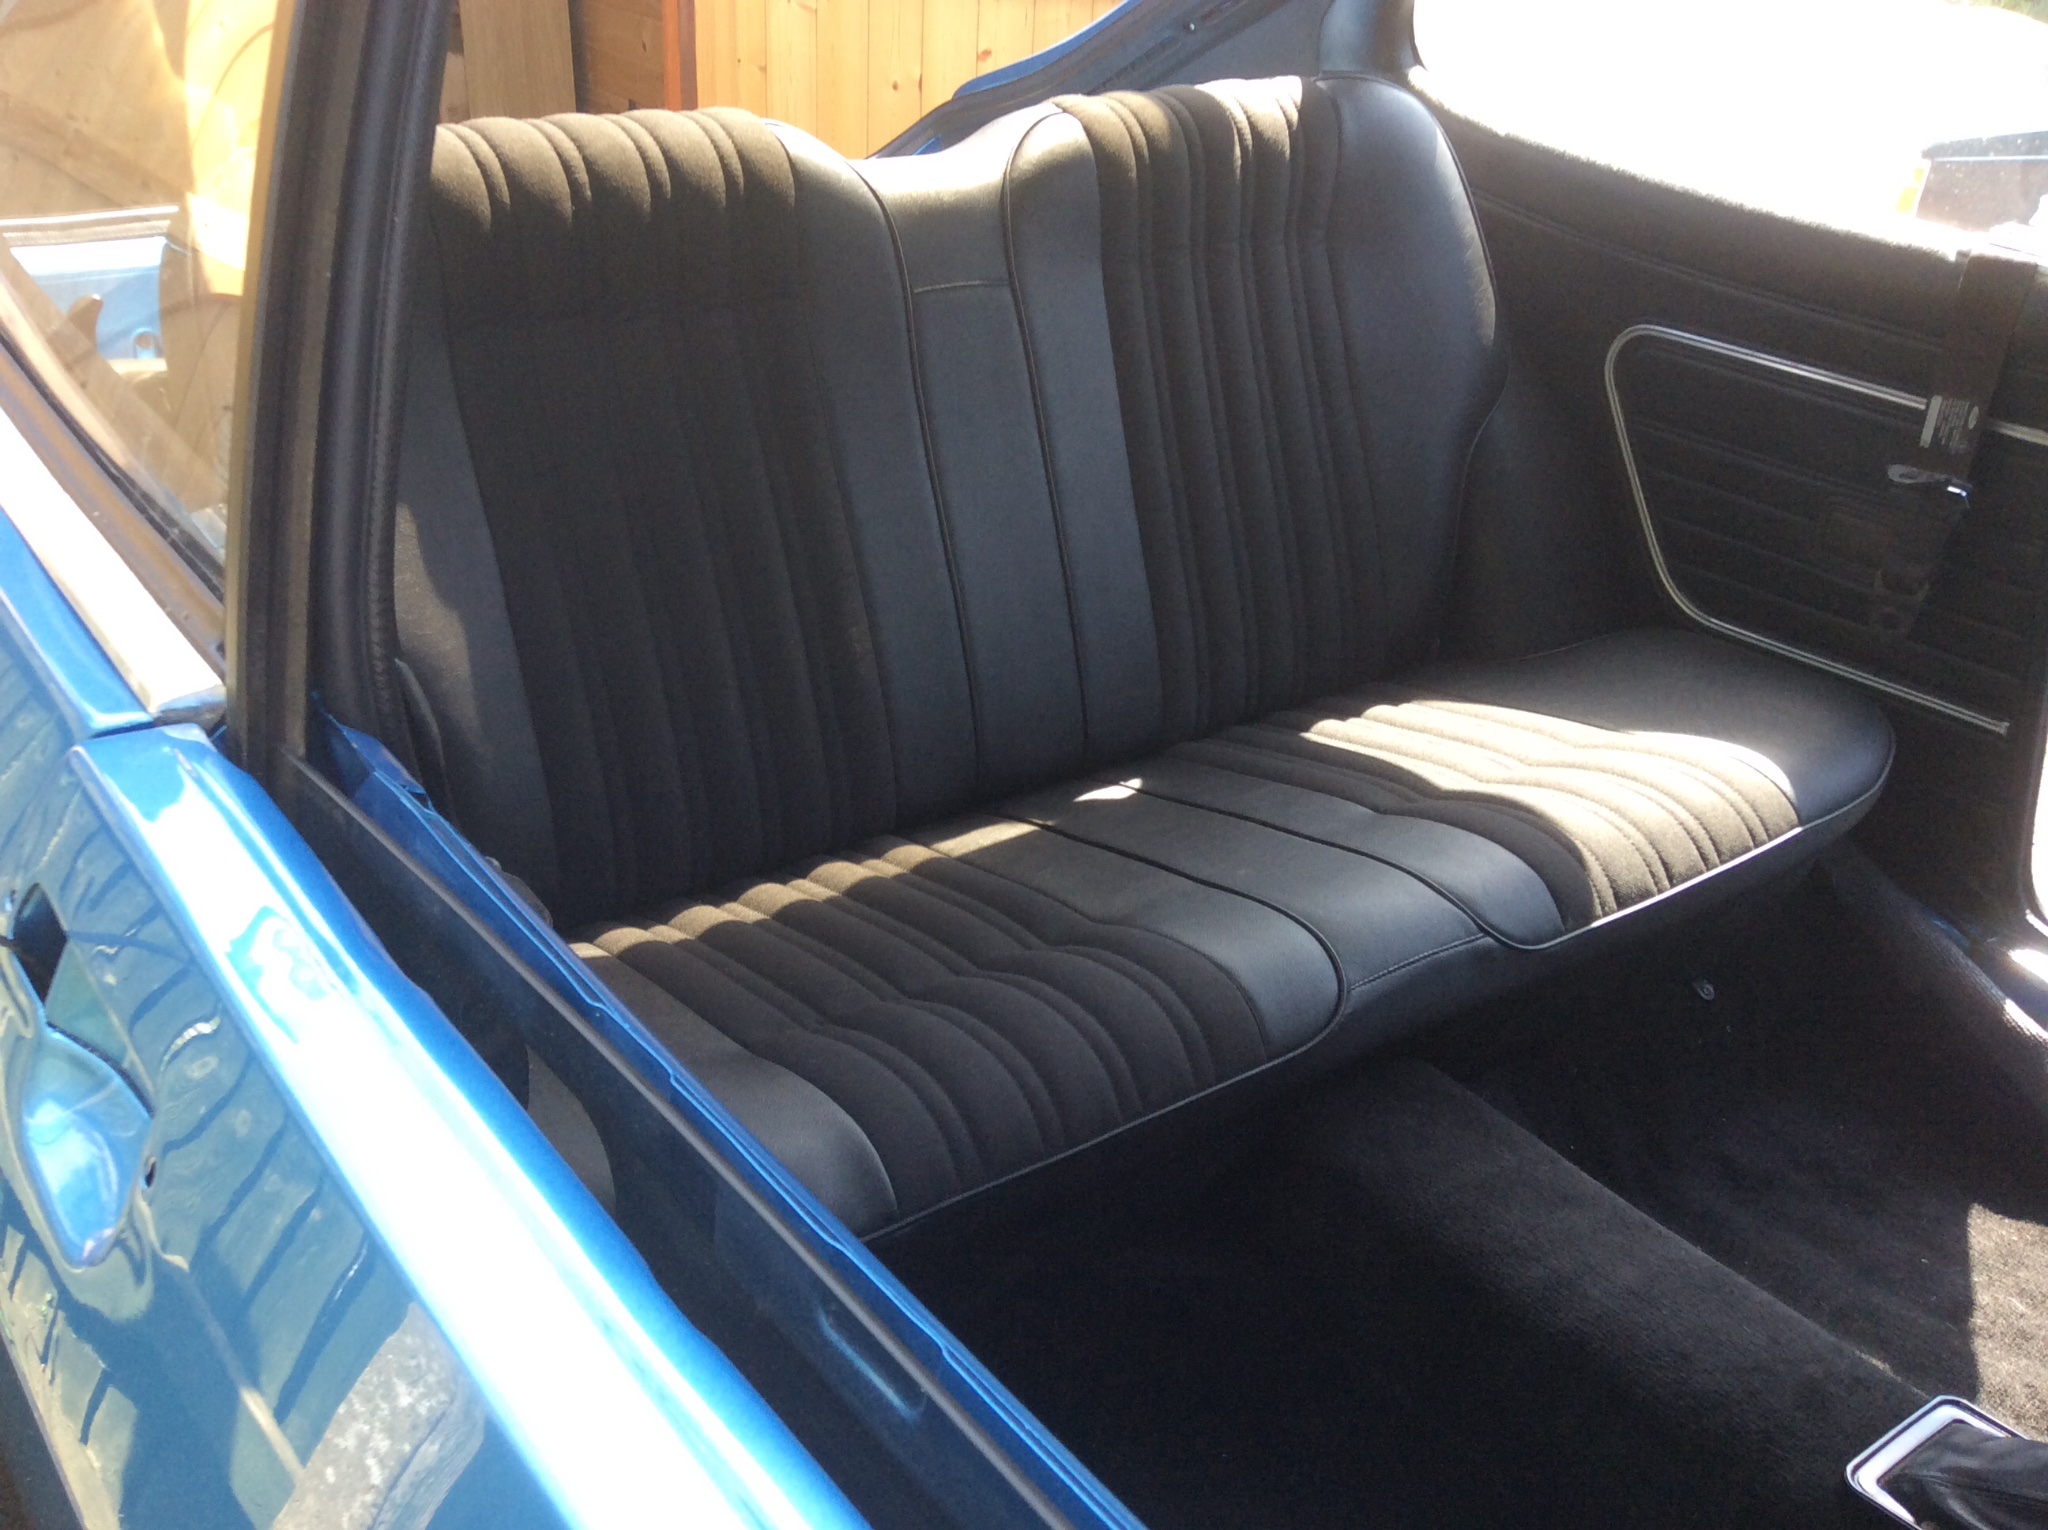
After that I refitted the front seat belt reels and then the plastic membrane into the rear quarters and boot areas, then on top of these went the plastic boot trims and refurbished rear trim panels.
Then the rear single piece seat and it’s hinges and brackets etc. I also painted the back of the rear seat back rest so it looks nice in the boot. I just sprayed this with satin black followed by a few coats of lacquer to give a hard wearing shine.
- 098A0D85-F0CF-434E-9843-55160AE3D39F.jpeg (898.6 KiB) Viewed 3920 times

- E2DA5BCD-DA70-4E3F-9BEA-B691D4A9ED20.jpeg (1.03 MiB) Viewed 3920 times
- 28487F85-64CA-4242-B7A7-7CF22375533D.jpeg (933.67 KiB) Viewed 3920 times
- 9ECB1677-EBB4-41CA-899D-352A82C1BE72.jpeg (859.93 KiB) Viewed 3920 times
- C65C086B-0592-46E5-9384-96F92F054C6A.jpeg (709.41 KiB) Viewed 3920 times

- 2B29AE57-3971-4DC7-B0A2-23653B536A59.jpeg (672.48 KiB) Viewed 3920 times
Re: Dan's Crapi project.
Posted: Tue Jul 07, 2020 9:46 pm
by Danthecapriman
With the gearstick, I had two options:
1) was to go back to standard. An L should only have a vinyl gaiter with a plastic trim around the base.
2) was to continue using the short centre console I picked up years ago. I’ve got a clock for this somewhere too.
For now, I’ve opted to go with option 1. You don’t see many of these cars without a centre console now so I’ll go with factory original and see what I think later! Fortunately I don’t ever throw things away!
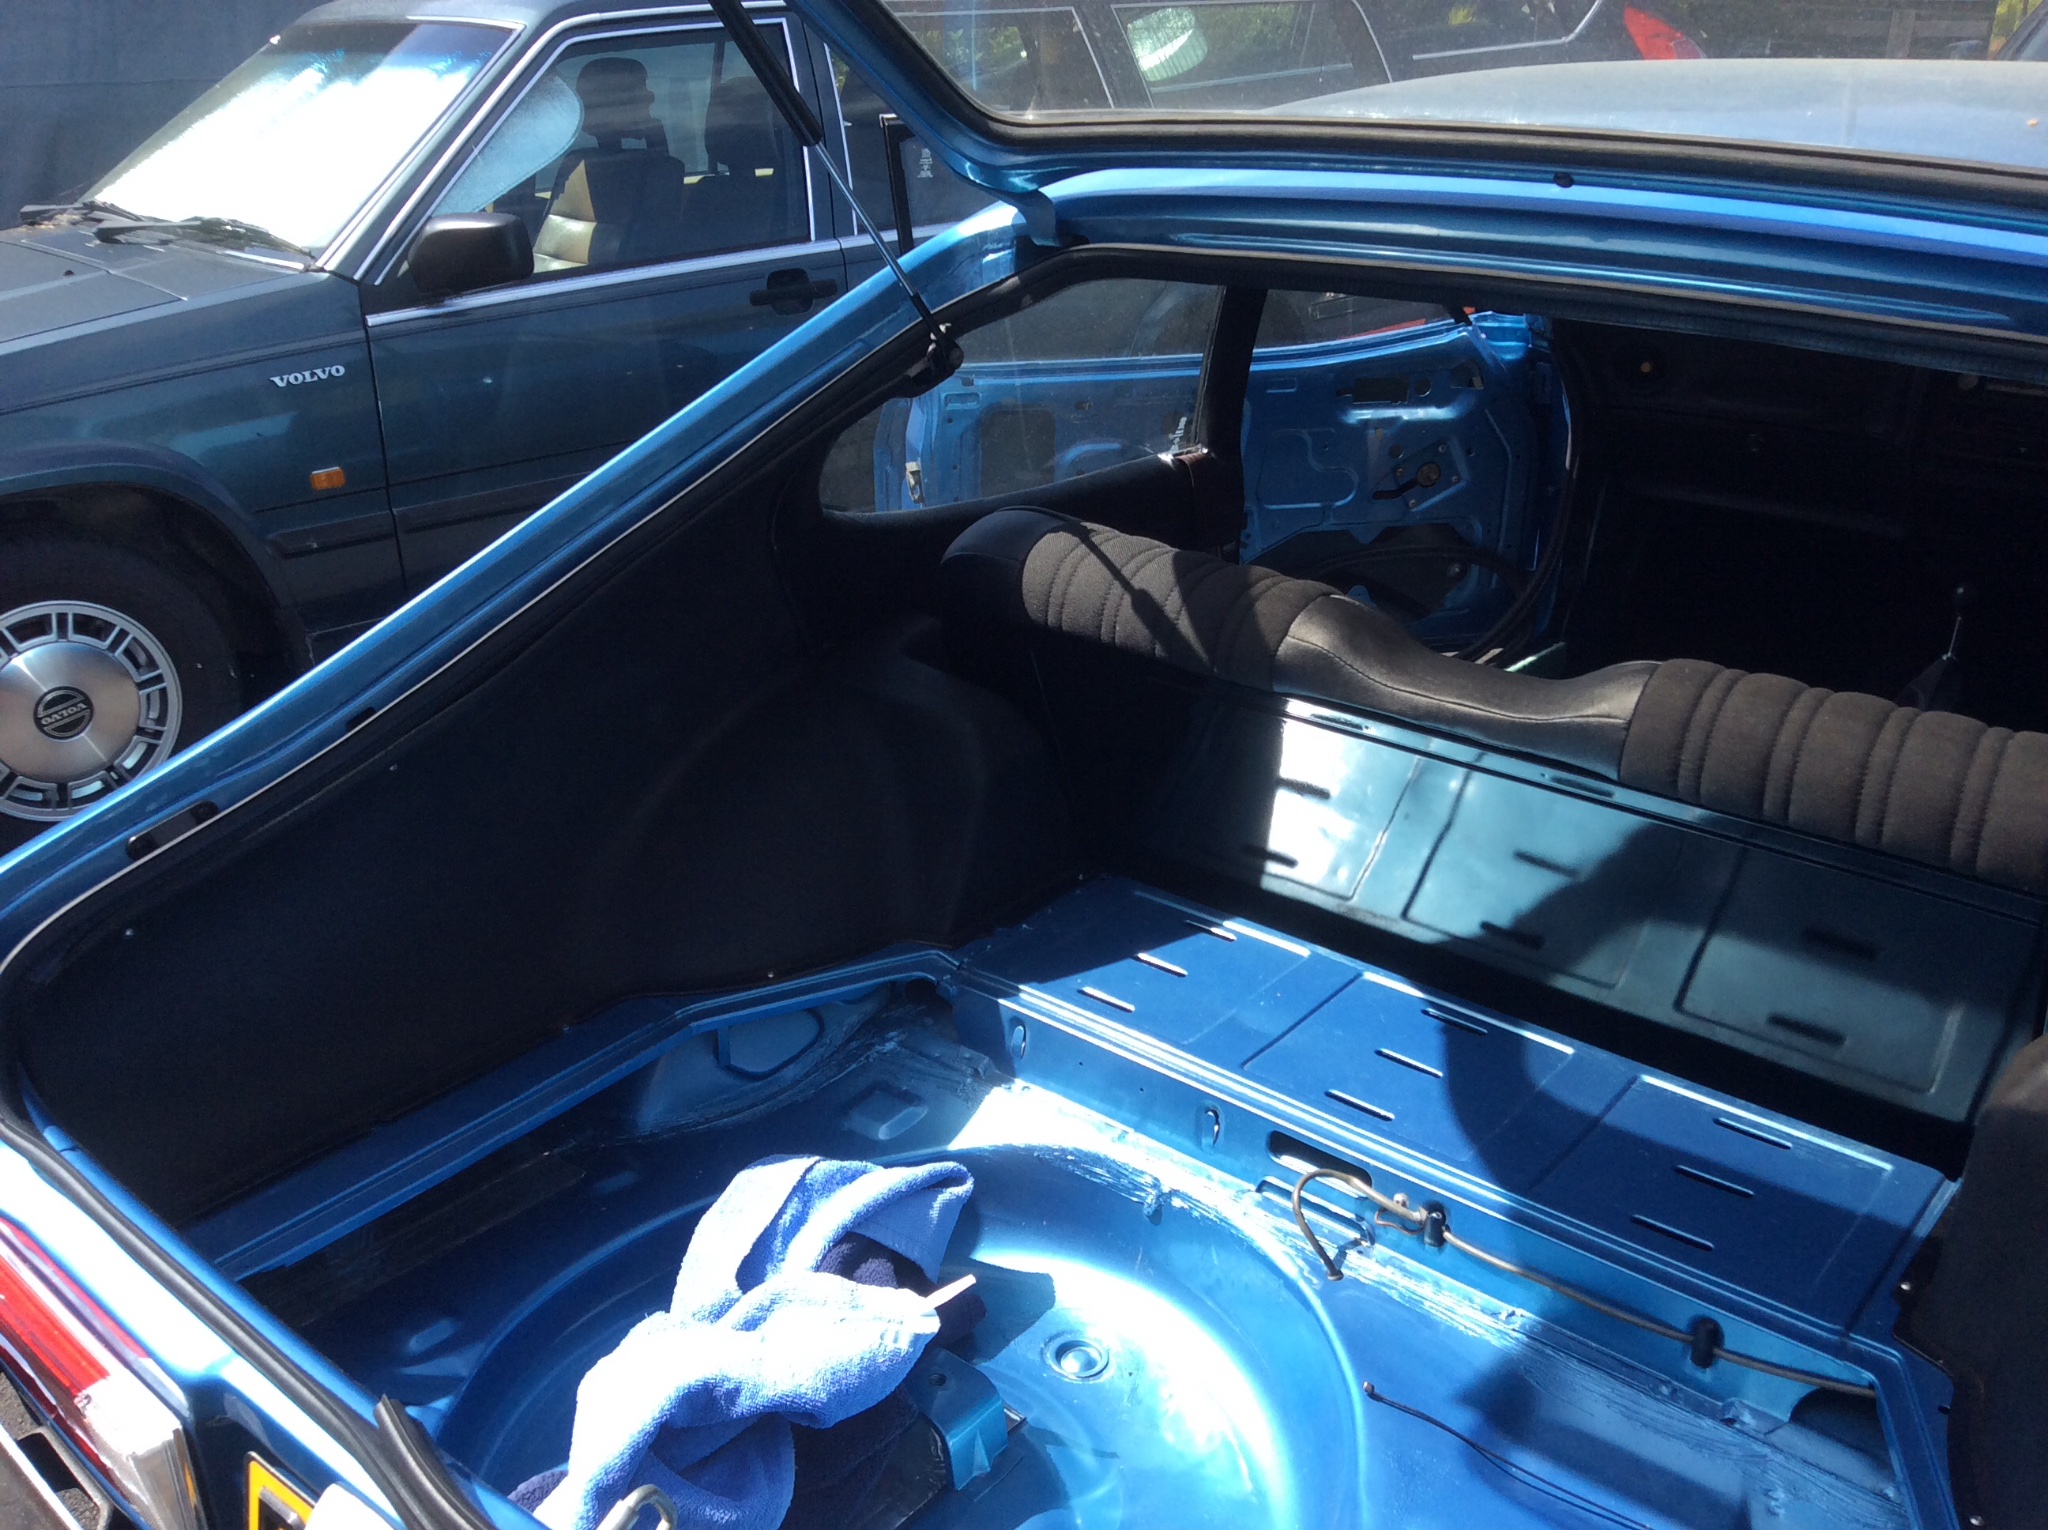
I jumped the gun a bit with the previous post...
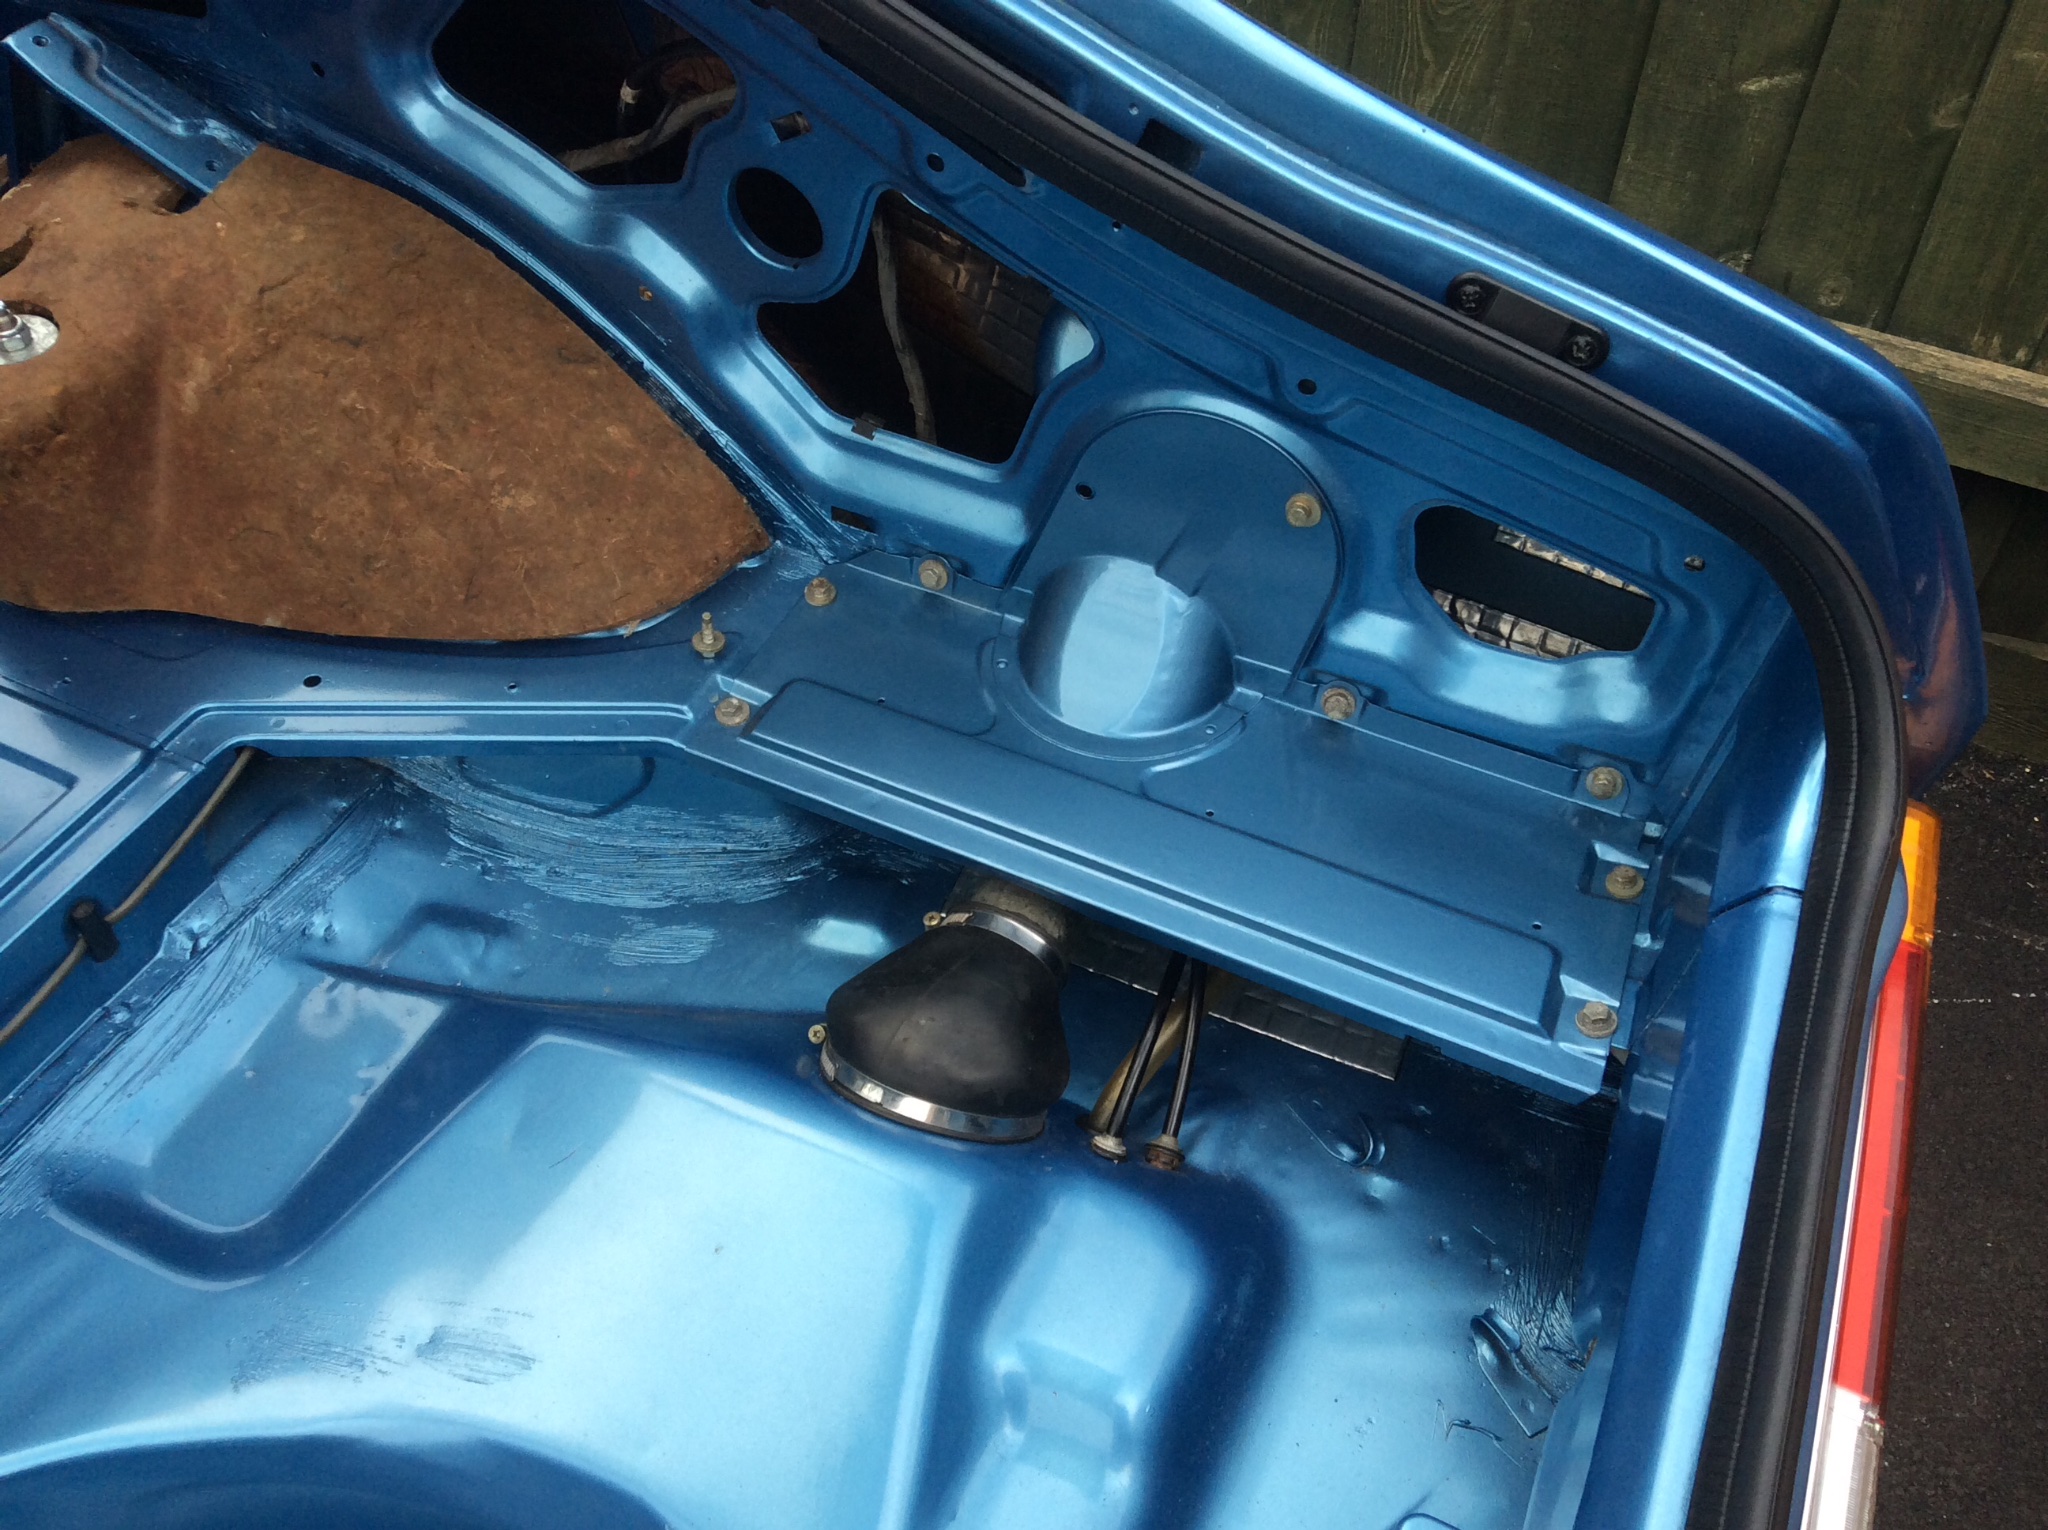
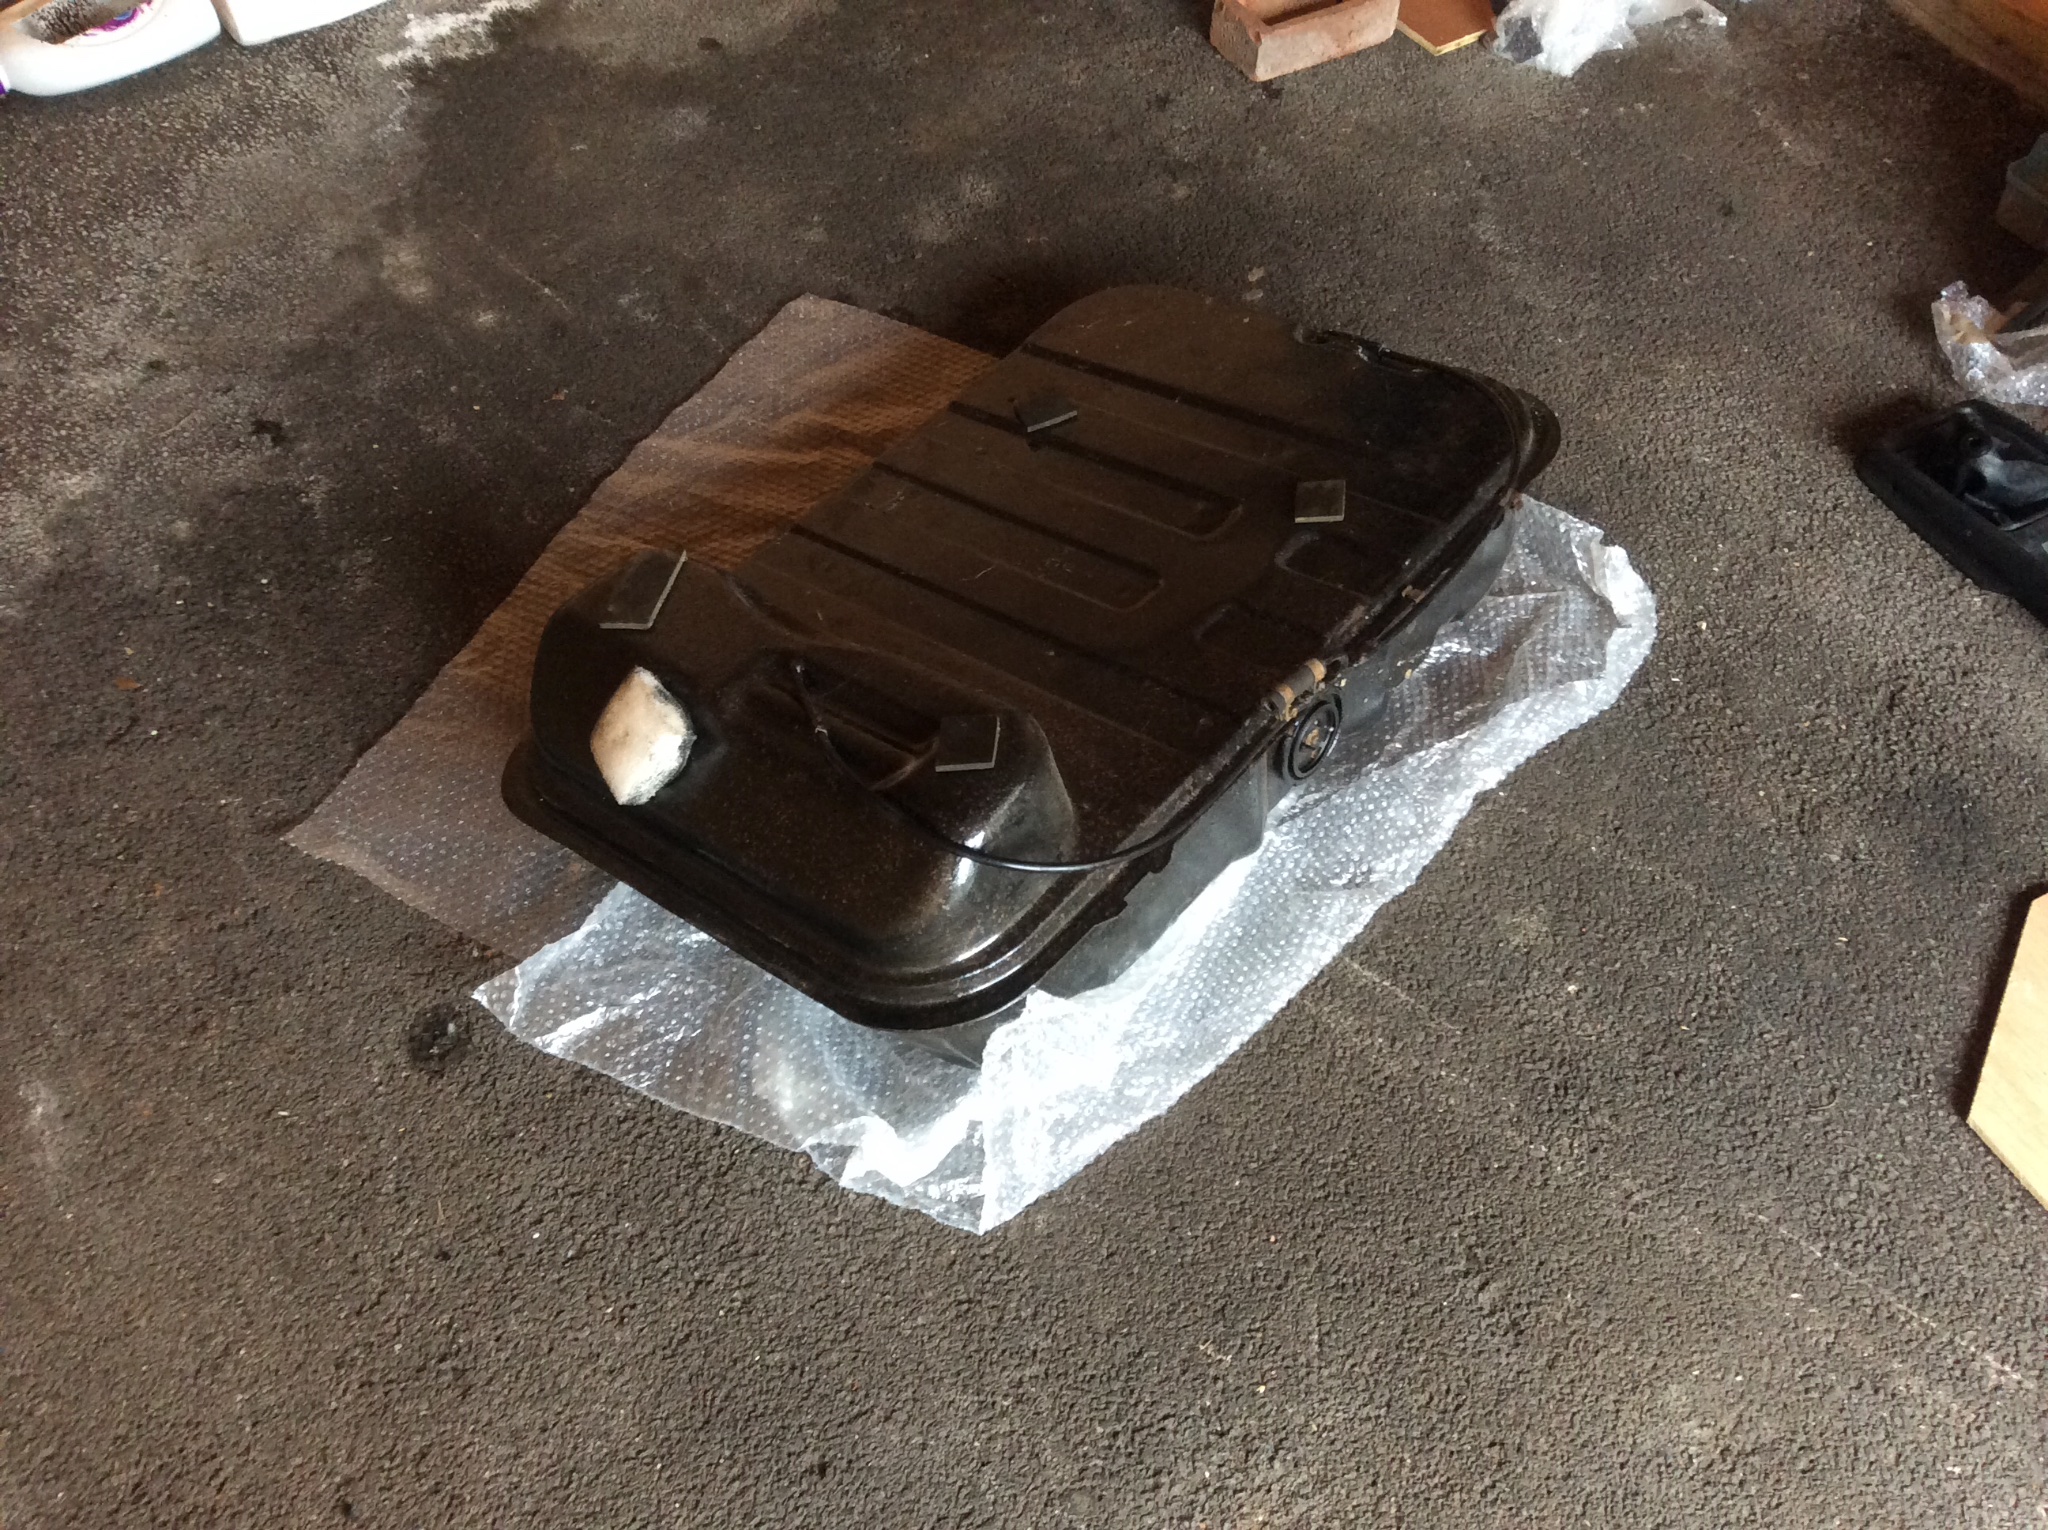
Before all that I refitted all the fuel flap, petrol filler neck etc etc. All pretty easy! And dragged the fuel tank out for a look over.

- 2926D7CD-52B5-4C48-826B-BC825EE2A35F.jpeg (912.39 KiB) Viewed 3919 times

- E2A5FF18-EDCF-429B-B424-B3B3E286D8C3.jpeg (728.29 KiB) Viewed 3919 times
- B4759C23-CB49-42C3-8CD3-B829DE7DF12D.jpeg (866.07 KiB) Viewed 3919 times
- 21D9C4C8-7BA6-4F45-8C7E-A288FB49324E.jpeg (1.23 MiB) Viewed 3919 times
Re: Dan's Crapi project.
Posted: Tue Jul 07, 2020 9:55 pm
by CLINT
Looking good!